craft projects, sewing

FO: Hiccup Horrendous Haddock III’s flaming sword

For the past two years, my daughter’s main obsession has been the How To Train Your Dragon franchise. I have lost count of the number of times we have watched the entirety of the Race to the Edge TV show, and she has seen all of the movies more than once. I’ve even shared some other Dragon crafts on here (how I made her Astrid skirt, and how I modified so I could wear it too!).

My daughter had a Dragons theme for her birthday party once, and by some miracle, the only Dragons card they had in Hallmark (this was before the 3rd movie came out, and a long time after the 2nd one was out, so Dragons stuff was hard to find) was specifically for someone turning 5 (she was!) and it came with a blow-up flaming sword (Inferno, if you want to get technical, or you can call it the Dragon Blade), just like Hiccup’s. This was cool, and she liked it.

The downside was no matter how often we blew it up, it was always a little limp.

And after 1.5 years of it knocking around in her room, she managed to step on it and totally pop the thing about 2 months ago.

I attempted a repair with some packing tape, but it did absolutely nothing. The sword was toast.

She did still have a styrofoam sword of some unknown origin – it was a gift or came from a fair or something. Which got me thinking that I could create a kind of cover for it that would turn it into Inferno! A new, improved Inferno that would not pop!

So this week, I took myself to the craft store, and spent $2.66 in felt. I bought 1/4 yard each of red and orange from the very wide bolts of felt, and a single sheet of yellow.

sword and cover

I measured the sword we already had, and it is 5.5 inches around. I used my Frixon pen from quilting to sketch out some guidelines. I knew each side needed to be at least 3 inches wide (I was betting on 1/4 inch seams on each side, and still having the 5.5 inches to get the sword in), and the length of the sword (ours was 14 inches long). Once I had those basics on the felt, I started free handing a flame pattern around it. Our blow-up sword had one side that billowed out more, like Hiccup was cutting through the air with it, so I mimicked that idea on my sketch. I then cut through two layers of the felt at the same time so they would be identical matches and I would only have to draw it once.

Next, I did the same with the orange. This time, my guidelines were 2 inches wide, and stopped about 3.5 inches short of the top of the red flame. I then freehanded some more flames, making it slightly more subtle than the red version. Again, I cut through both layers at the same time.

Lastly, I did the same again with the yellow. My guideline was to be about 1 inch wide, and the length of the sheet I bought (about 10 inches). This one I had to go back and trim a few times, because when I started adding the curves to it, it got a little wider than the orange a few places. Keeping both pieces together, it was easy to keep trimming and testing until it looked right.

Next, I pinned the yellow to the orange and sewed it on, using an approximate 1/4 inch seam. I did this for both sides.

Then I pinned the orange to the red and did the same again.

For extra security at the ends, I also sewed across the bottom of all three pieces of felt.

Finally, I pinned the two reds together and sewed 1/4 inch seam all around, except for the bottom where it was going to slot over the sword.

And ta da! It worked! Very rarely do I have an idea I think is quick and simple, and it actually ends up being quick and simple! It turned out just like I saw it in my mind’s eye.

What I love about this is that we can take the felt off and she can still have a pirate sword, or put the felt on and play Dragons. It keeps it a multi-purpose play item. It also is not limp, and we can’t pop it. So win-win-win!

If you’re interested in making your own, and don’t have a random styrofoam sword hanging around your house (what’s wrong with you? :-)), I have seen similar swords at the dollar store before. If you get the felt on sale at JoAnn’s like I did, and a sword for a dollar, that brings the grand total of this fun and cute project to $3.66! That’s definitely value for money.

I’m planning to keep this one hidden a couple of days more and give it to my daughter on Christmas Eve. I hope it leads to lots of new ideas for Dragon play.

child, craft projects, cross stitch, Girl Scouts, knitting, life, quilting, sewing, sweater, Three on Thursday

Three on Thursday: Considering monogamy

What a week it’s been! It’s been full of surprises, and not really in a great way for me. But… we’re chugging along.

Joining with Carole today for Three on Thursday – so here is my list of three things from this week:

One
I ordered a beautiful bright green dress for my daughter from Primary this week, with the intention of it being a St. Patrick’s Day dress that will have a longer life than one with shamrocks on it. I ordered short sleeves so it can transition into spring, and I had the somewhat crazy idea that I could finish her Chains cardigan in time for her to wear it over her new dress at a St. Patrick’s themed piano lesson event she is going to on March 15. I initially dismissed this idea immediately – no way would I finish it by then – the rows are so long! And then I thought, if I stopped working on all my other projects, it just might be feasible. But…

Two
I already have two active projects in other crafts, the Halloween SAL cross stitch and a Girl Scouts quilt. I’m enjoying both of them, but splitting my time between these and knitting is not leaving much time for me to finish either of them.

Three
For my birthday, I asked my mom to buy me the supplies to make the St. Patrick’s Day Countdown and Easter Countdown from The Sugar House Shop. (You may remember I’ve already made an advent calendar and a Valentine’s countdown from her shop. I’ve also made a birthday countdown of hers… but I just realized I never blogged it!) They arrived this week… and I’m also itching to try to start and finish the St. Patrick’s Day countdown before the beginning of March. Which again, I could do, if I quit working on everything else!

Ah… if I was good at being project monogamous, things would get done! I’m willing to give it a go, I just can’t decide which one I should go for. What do you think?

life, quilting, sewing, Three on Thursday

Three on Thursday: Lately

One
I’ve been desperate to start working on a Girl Scout quilt for my daughter (it’s her first year as a Daisy Scout!), but my sewing machine is not playing along. I attempted to modify some Build A Bear pajamas to fit a dragon’s tail (we may or may not have gone to buy the White Fury the day it came out last week :-)), and the fabric got jammed. I managed to get it free, but since then, the machine won’t sew anything! I’ve tried to troubleshoot myself, but to no avail. My parents, who are also my sewing machine experts, are going to come look at it this afternoon to see if we can get it going. In the meantime, hit me up on my Options post and let me know what you think I should do about the Quilt That Lingers. 🙂

Two
Speaking of Girl Scouts, it feels that most of my life for the past two weeks has been about Girl Scouts. We have been going door-to-door selling cookies, and even hitting up people at our local businesses as we do our errands, and finally my girl has reached her goal! And since I am the troop leader, I have also been registering the girls for upcoming events and preparing for our next meeting. I am tired. 

Three
I have once again turned into a KonMari tornado (this is about the third time this has happened – this time the Netflix show and my desire to make cleaning my house easier got me going), and we donated quite a few things to a local church that has a food pantry and a free shop for those in need. We are off to the library today to donate some books as well. I’m not done yet! 

Joining in with Carole this week – go over to her blog to see who else is participating! Also, my comments work now! 🙂

quilting, sewing

FO: Bright baby quilt

As I’ve mentioned before, I took a beginning quilting class earlier this year. I learned a few things, kept a few (possibly bad?) habits, and finished a quilt that I really love. 

Between signing up for the class and actually starting the class, I found out that a dear friend was expecting a baby. And all of a sudden, I knew exactly what the quilt would be for – her! I had browsed fabrics before and nothing was speaking to me, but when I went back with her and her baby in mind, fabric nearly jumped off the shelf at me. 

The first fabric that I really fell in love with was this gorgeous alphabet fabric. I loved the vibrant colors and cute illustrations that went along with each letter.

close-up of bright baby quilt

I picked out some coordinating fabrics, making sure I incorporated a variety of the colors that were in the alphabet fabric. I ended up choosing a white with some rain drops on it instead of going full neutral for my background color. I love that fabric, but I won’t lie, a few times during the making of the quilt I wondered if I should have gone with a plain white. But once it was all together, I knew it was the right choice. I wanted this to be a bright, happy quilt.

And so, every Tuesday, I spent two hours plugging away on the quilt and learning a few tips. By the end of the last class, I had done everything but the binding. I stalled for a bit there, undecided on what I wanted. Originally, I thought yellow, and then I thought that was too light. Then I wanted to find a solid purple that matched the purple in the quilt, but I couldn’t find the right shade. Finally, as I was driving in the car (because that and the shower are the only places genius strikes), I thought GREEN. It should have been so obvious. Green is my friend’s favorite color, and there was some green in the quilt, and it couldn’t hurt to up the green factor. So back to the fabric shop I went, and I was able to find a green that was from the same fabric line as the purple polka dot I had used in the quilt, so it was a perfect match. 

baby quilt on stairs

I know I’m biased since I made it, but I think it was the fantastic choice. 

We had my friend’s baby shower at our local yarn shop (of course!) last week, and I think she really liked the quilt. We had a really lovely time, and NOTHING beats a shower that is attended only by makers. I loved seeing what everyone had made. This baby will certainly be wrapped in love when she arrives. 

child, holiday, sewing, Toy

Not a toymaker

Three years ago, my daughter said the only thing she wanted for Christmas was a pink plush dinosaur. I started looking around, and I couldn’t find one that I could get in time for Christmas. In fact, I found exactly one, and it was shipping literallyon the slow boat from China and would not be here in time for Christmas. 

The only answer I could come up with was to sew my own. I wasn’t super keen on this idea, because I’m not really great at sewing things that aren’t straight lines. You can read all about it here. I did finish it and it even turned out relatively ok, despite a couple of wonky legs. 

For almost a whole year, my daughter has regularly and out-of-the-blue asked for Dino (I could never get her to call the other one Sadie like I wanted to name it) to have a purple friend.  I kept putting her off because I really disliked making the other one. And because she has a zillion toys already. My default answer was, “Maybe for Christmas…”

So now we’re in crunch time for crafting for Christmas and I couldn’t put if off any longer. I know she’ll be surprised and thrilled to get it, and that was motivation enough to start it.

As I expected, I disliked pretty much the entire thing. From the cutting (I found the fleece to be so stretchy and difficult to cut in a nice shape) to the sewing (those foot pads are SO fiddly!), I muttered curses under my breath.

But finally, I finished it. YES!

He turned out pretty ok. I’m still not super happy with every bit of him, but I was never happy with every bit of Dino either and my daughter still loves him lots. I do love the extra heart I put on his foot. 

And now, I’m hoping to retire from toy making. And that I can talk her into calling this one Sadie. 🙂

cross stitch, current projects, knitting, quilting, sewing, sweater, Three on Thursday

Three on Thursday: Projects

Oh my friends. I stayed up late watching the British version of Sherlock. Somehow, I have never seen this. I do not know how that is possible, but it’s true. I watched the first episode last night, and Netflix sneakily auto started #2, and I ended up watching half of it! Of course, with the intention I would be working on my cross stitch (see above), but in reality I put it down and started focusing on the show entirely. Not much progress to show, and I have all the yawns, and am drinking double my daily coffee allotment. *yawn*

So here are 3 projects I’m working on now: 

1.)  The aforementioned cross stitch. I have joined the Tiny Modernist Haunted Mansion SAL. Three rooms had already been released when I joined, and I’ve only been working on the project since last Friday, so I am VERY behind. It doesn’t help that I ordered the materials from the suggested online store and it took nearly 2 weeks to get my materials. It didn’t ship until I called the store a week after my order to ask why there had been no shipping confirmation… and 2 hours later, my order magically shipped! So anyway, between the two, I highly doubt I’ll be finishing this for Halloween 2018. Oh well, maybe I can get some cute Halloween fabric on sale in November — because my plan is to turn this into a throw pillow.

2.)  My daughter’s Weasley sweater. This projects has been a bit of a to do. All I have left is to finish duplicate stitching her initial on it, and I think I should redo the collar cast-off. It’s a little snug, and I think if I redo it to be a little stretchier, she’ll be more willing to wear it more. 

3.)My quilting class quilt. This week, we learned Flying Geese and Square in a Square. I hadn’t done either of these techniques before, but it was really fun! Head over to Instagram for some sneak peaks of the blocks I’m working on this week. 

My knitting and I haven’t really been on speaking terms lately (not sure why), but I will be starting a 4th project soon: my daughter’s Christmas dress. I bought yarn for this back in the summer during my LYS’s sale, and didn’t start. I wanted to measure her closer to Christmas. But I just remembered last week that I wanted to do this project — and it’s a fingering weight dress! — so I guess I better get cracking on that.

craft projects, sewing

FO: Valentine’s Countdown

Yesterday, I promised a full post on the Valentine’s Countdown, and thanks to some lovely comments on it, I decided to do the full post today!

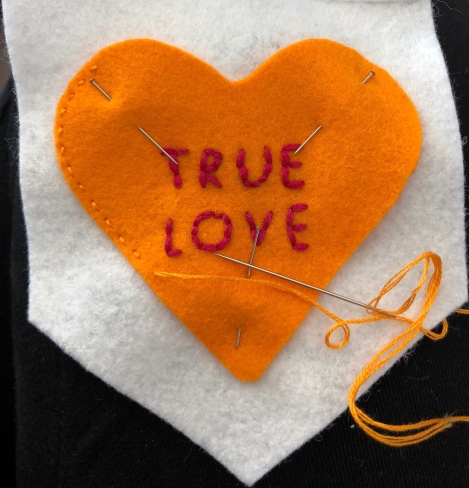
stitching-countdown

The Sugar House Shop, where I purchased the pattern for BK’s advent calendar, posted some new countdowns earlier this month, and I found I was helpless to resist. When I purchased materials for the Christmas calendar, I had also purchased the materials for the birthday countdown to get free shipping (I know I’m not the only one who commits to multiple projects just for free shipping, right?). And it just so happened that the ice cream colors I chose for the birthday countdown were almost an exact match for the Valentine’s Countdown.

I decided to see how much I could squeeze out of the 9×12″ felt sheets I had purchased for the birthday countdown, and it easily handled an ice cream scoop, two hearts and I still have half of it left over (yes, this means I will probably make even more of these projects :-)).

I swear, this project just flew by. I enjoyed it so much!

I only made one small change, which is that the pattern called for some printable Stick ‘N Stitch, which I could not find locally. I did some research, and found out that the new printer Mr Snips recently bought for us allowed you to print a mirror image of your file. So I did that, and used the iron-on transfer pen instead. It worked out great!

countdown close-up

I only have one regret on this project, and it is that I only used the white floss on the dark pink hearts. I think I should have also used it on the purple. BUT – BK loves dark pink so much and she really likes the purple/pink combo, so I’m trying not to feel too bad about it. It’s difficult to read the purple ones from far away, but just fine if you’re near.

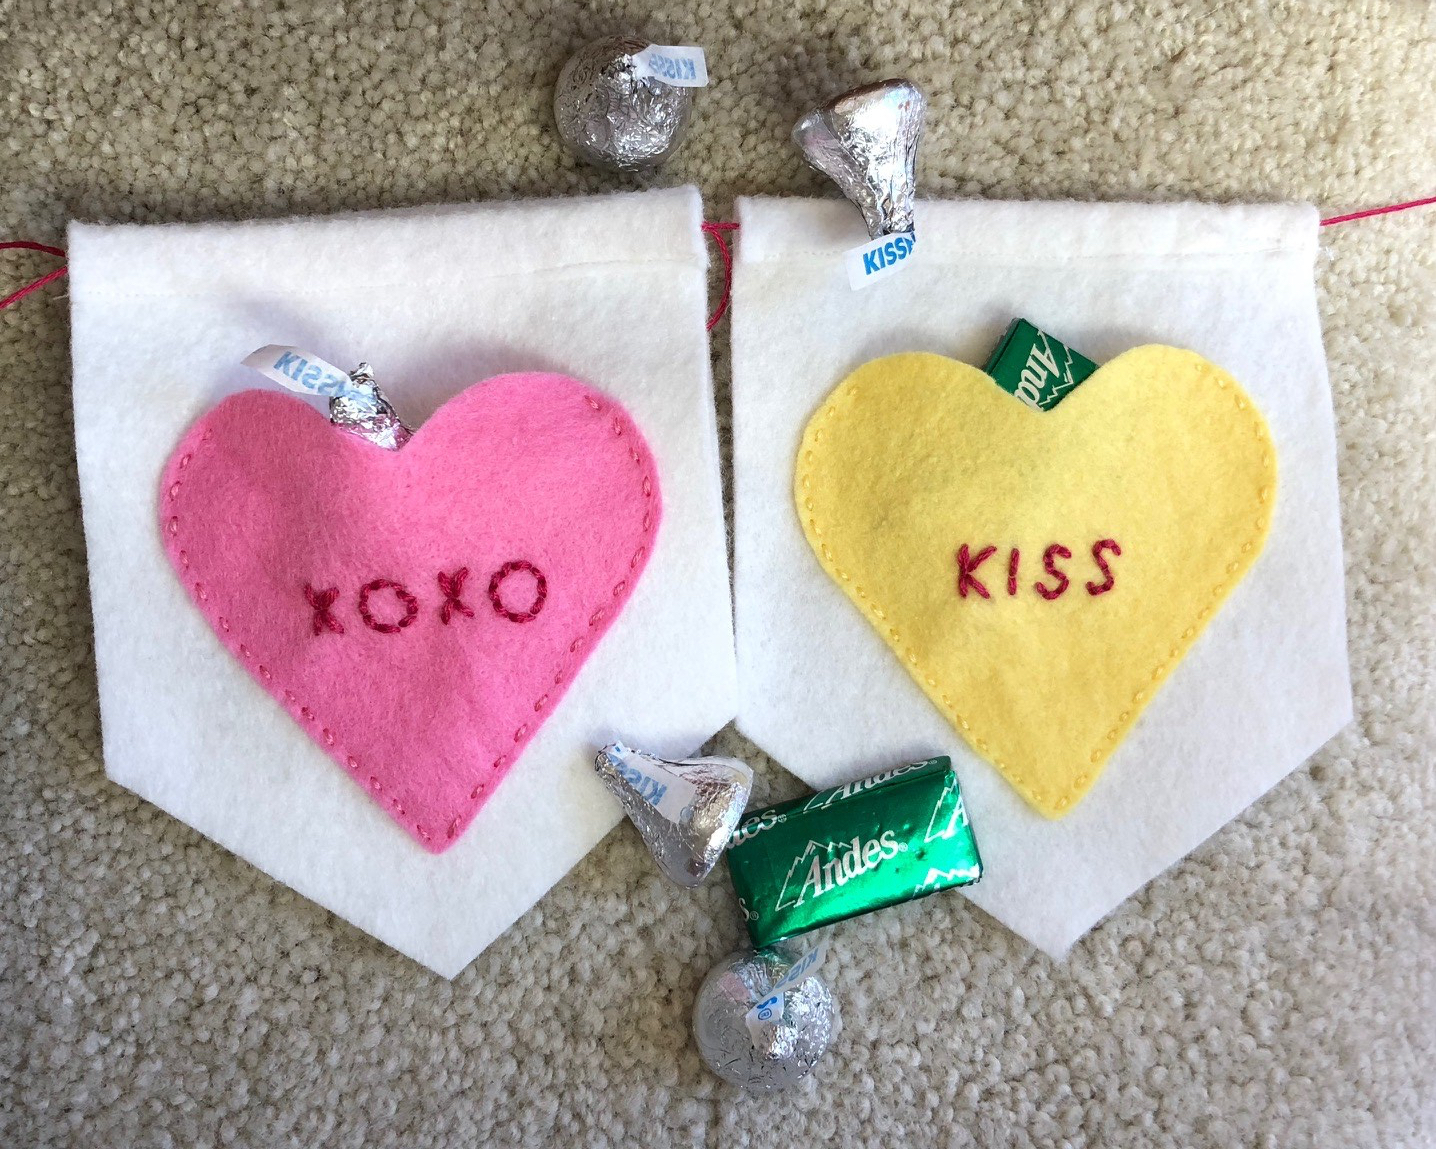
In fact, she loved the combo so much, she requested it for my one addition to this project. I recently found out that she can write her name backwards flawlessly, so I had her write her name backwards in iron-on transfer pen, and then I transferred it to a purple heart. I stitched over it with some pink, and now we will have a permanent memento of how sweetly her little 4-year-old hands write her name in 2018. It is, in fact, my favorite heart. And she will really like it because it means she will get a 15th chocolate out of it. I plan to fill the little hearts with a combination of Hershey’s Kisses and Andes Mints, both of which are the perfect size for these sweet little pockets. countdown with candy

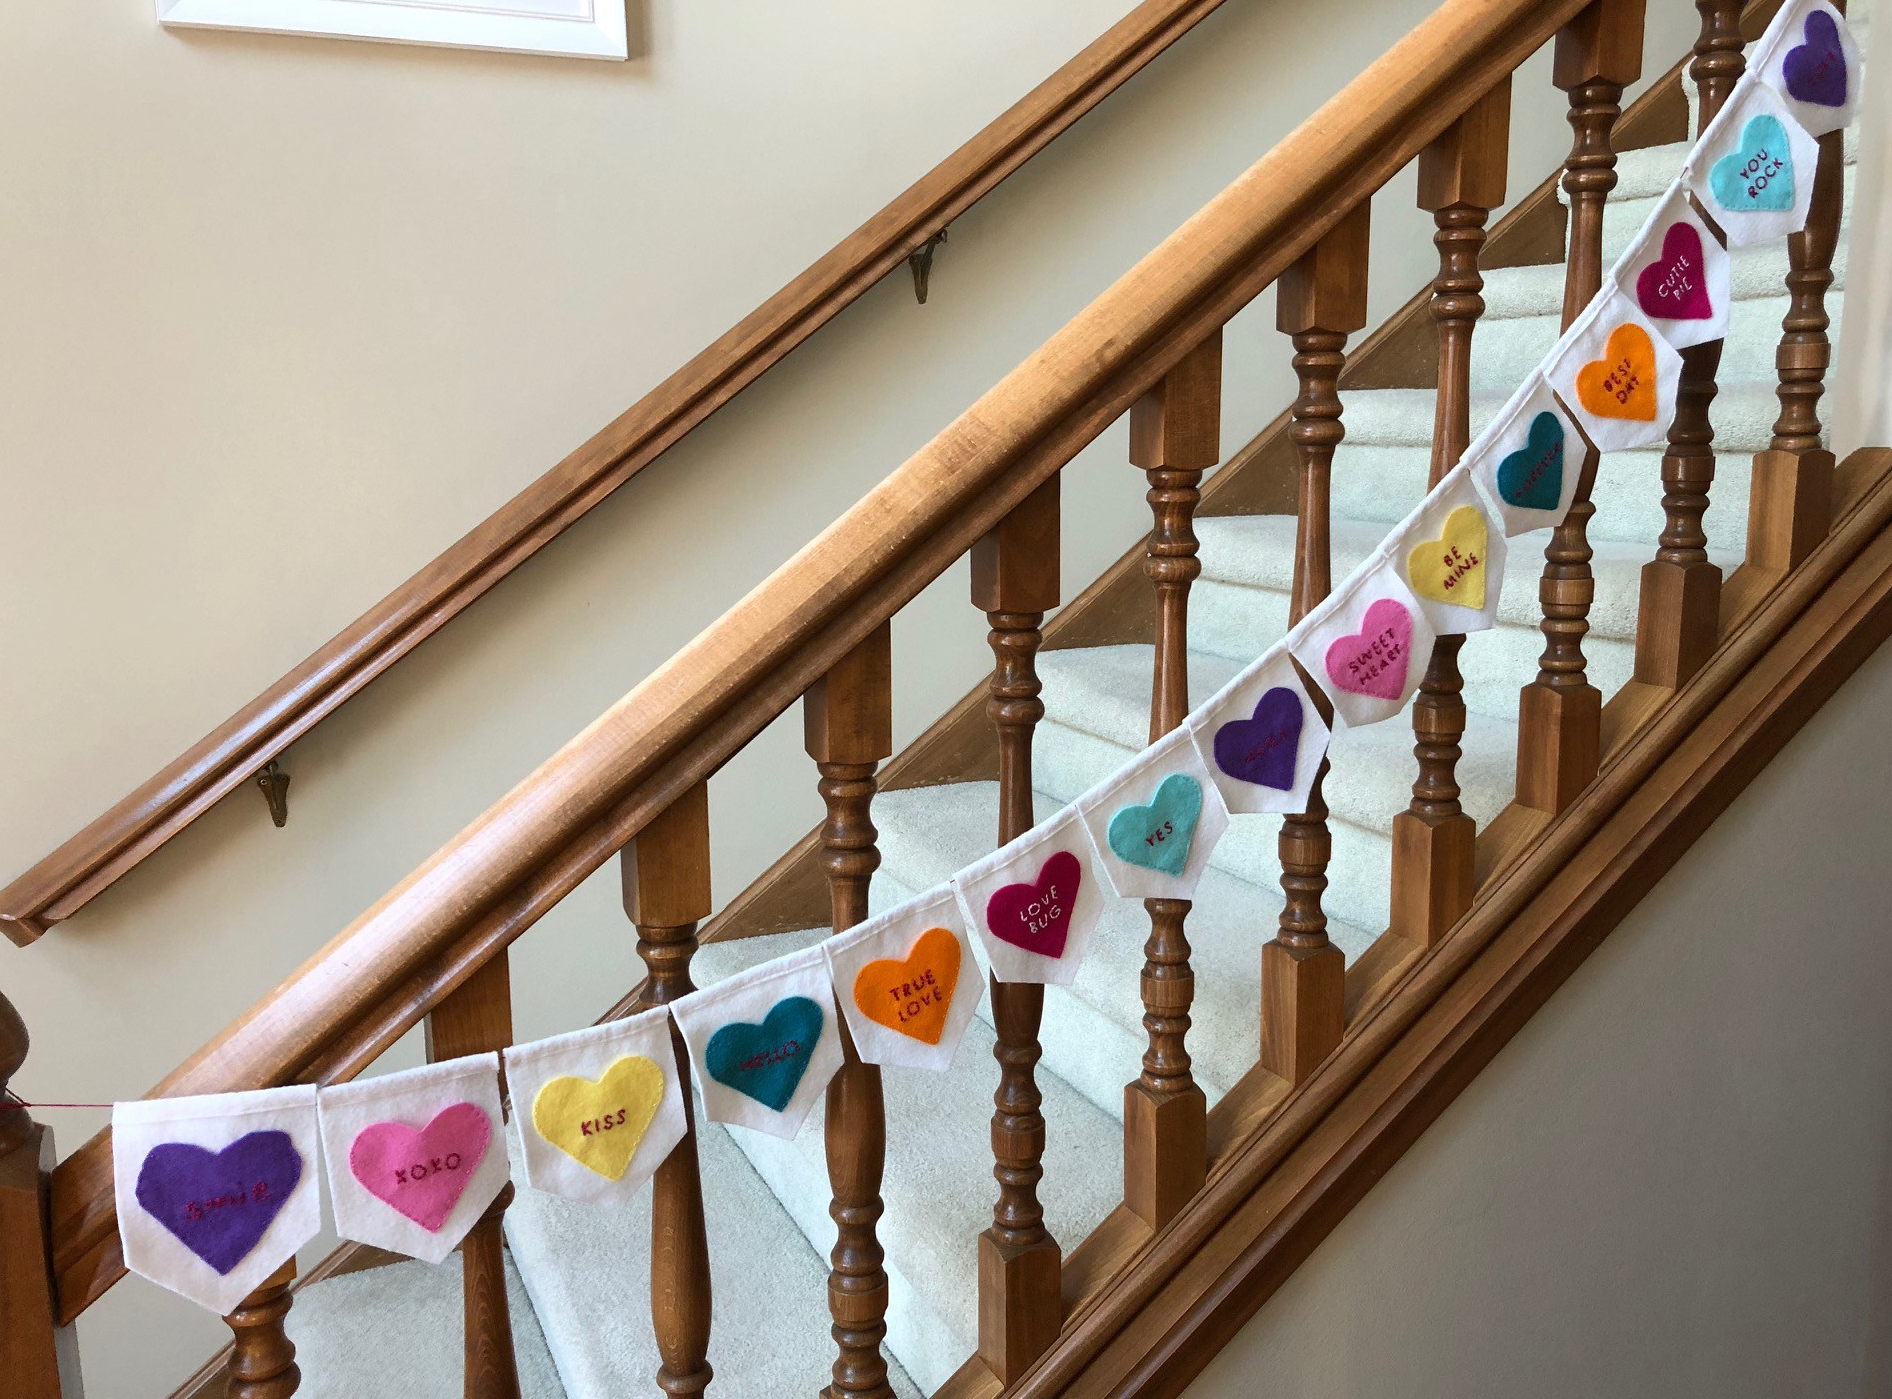
Here’s the big ta-da!

full-countdown

I’ll leave you with just one pro tip on this one. When threading the floss through the top to string them all together, using a safety pin was making me crazy. I pulled out a long plastic tapestry needle from my knitting bag, and it sailed through the tops like a breeze!

Now bring on January 31st, so we can fill this up! 🙂

child, craft projects, knitting, life, mittens, sewing, Three on Thursday, winter

Three things I’ve finished recently

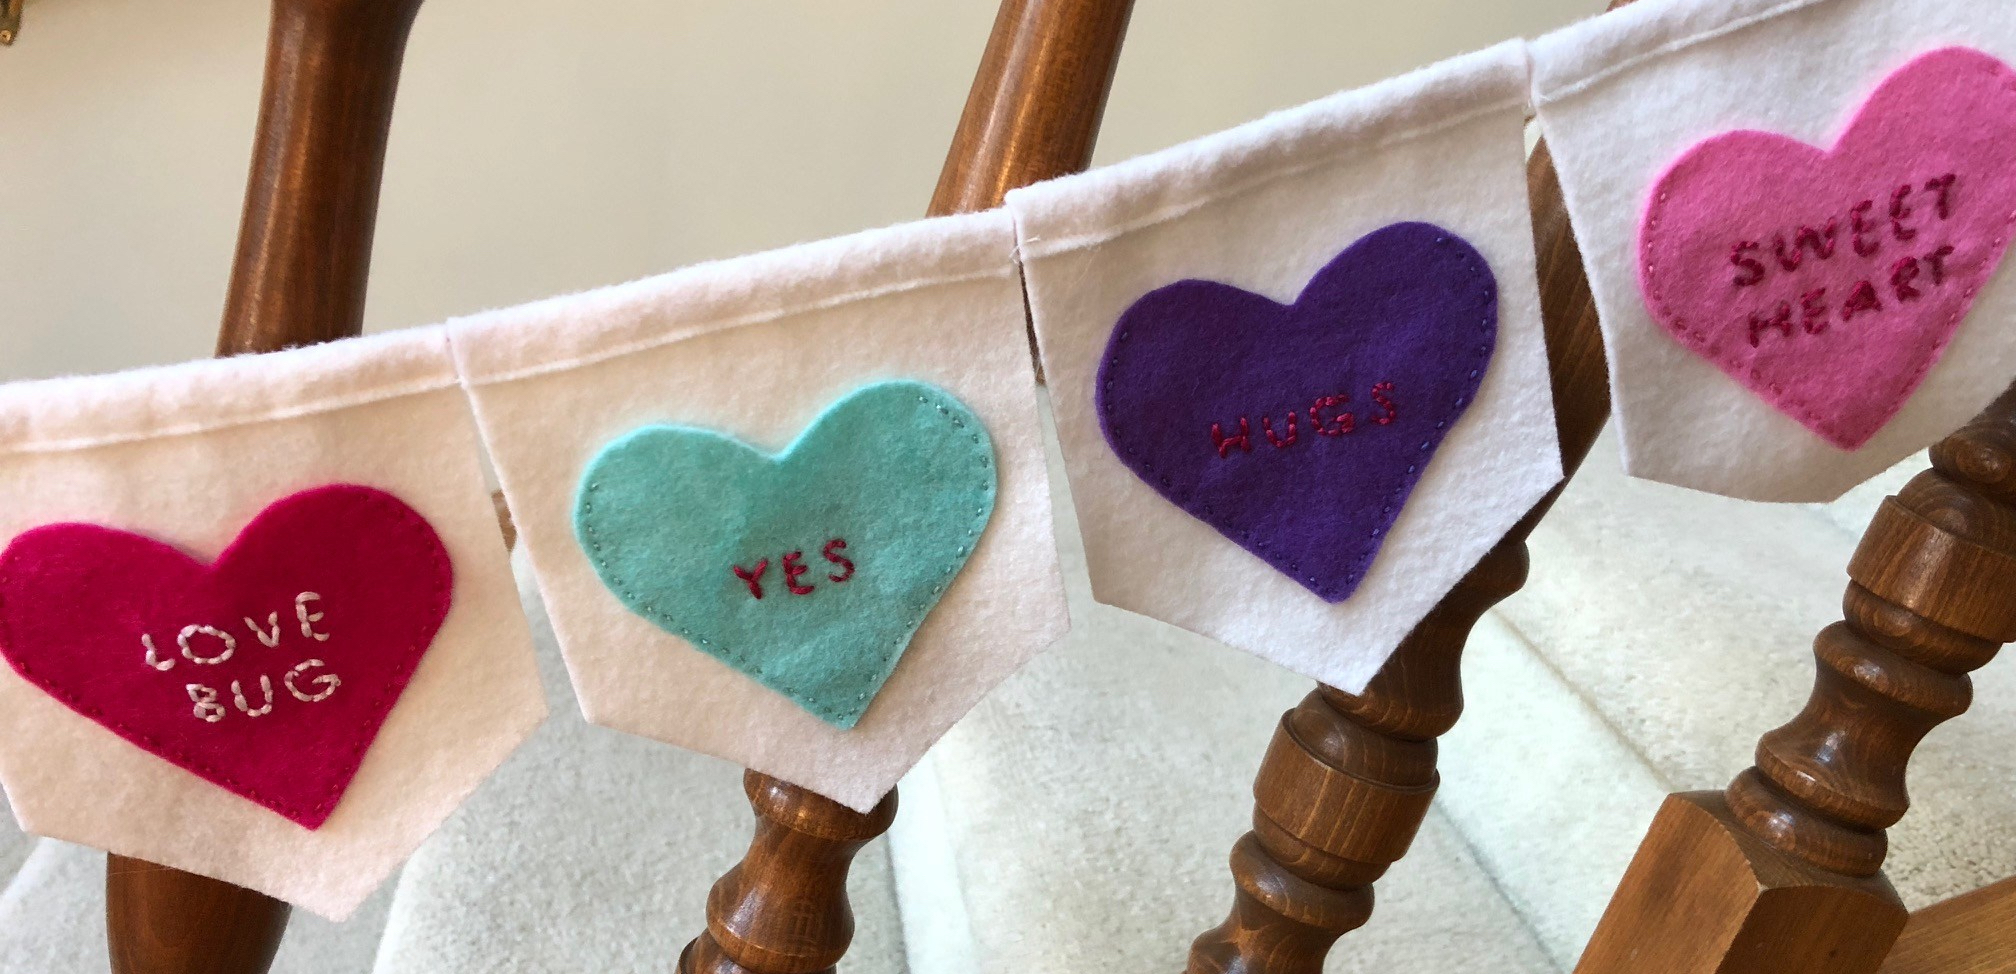
valentines-closeup

Hi everyone! It has been a couple of weeks full of changes. I made the decision recently that I would become a full-time stay-at-home mom to my 4-year-old daughter, and left my job in mid-January. I’m very lucky to be in a place where I can make this decision. So far, it’s been great. I think we’ve yet to find the exact rhythm of our weeks just yet, as BK was sick most of the first week I was home, and we are also doing some work in our kitchen, both of which have affected how we spend our days. But I’m sure that we will fall into a gentle routine soon, and our days will be even fuller than they already are. 🙂

This also means that I’ve wrapped up a few projects that have been lingering for a long time! Which brings me to my three things…

  1. A Quillow. I’ve made 3, but I just finished the last one yesterday! Quillows are fast and fun sewing projects. Can’t wait to show you the full details of all of the ones I’ve made.
  2. TMNT flip-top mittens: My friend Heather of BaH Yarns made the coolest self-striping colorway, Cowabunga, inspired by the Teenage Mutant Ninja Turtles. TMNT happens to be BK’s favorite thing ever, and I used some of the DK yarn to knit her a hat around Halloween time, and finally finished up some flip-top mittens with the leftovers just this weekend.
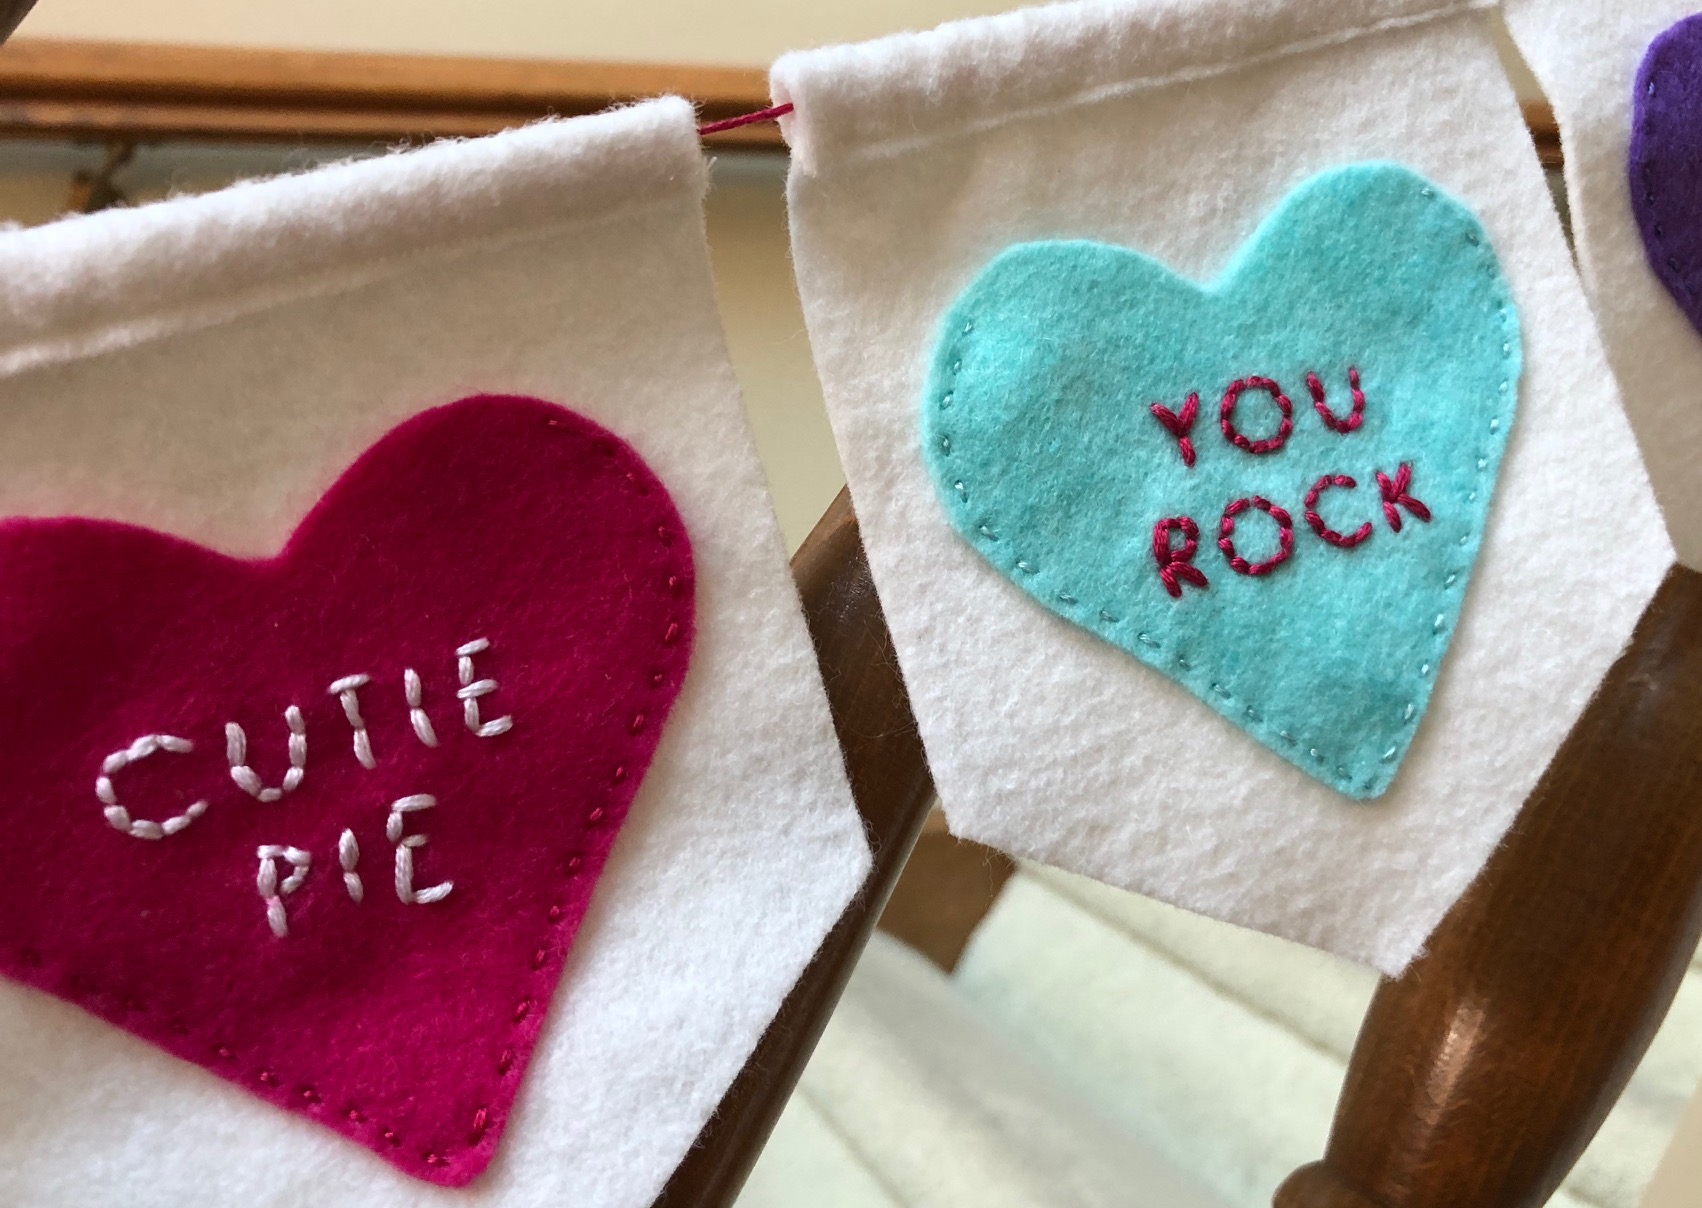
  3. A Valentine’s countdown (close-up above): I LOVE this and I finished this within about 2 days of being home. Super cute! I hung it up on our bannister just to see how it looked, but have never taken it down! Technically, I shouldn’t have it up until Feb. 1, but it’s bringing so much joy right now I can’t. It’s very cold and grey almost every day, and the bright pops of color from this project are making me happy.

Full posts to follow on all of these projects, because they are so fun! Hope you’re all having a terrific Thursday. What did you finish this week?

craft projects, holiday, sewing

Challenge complete

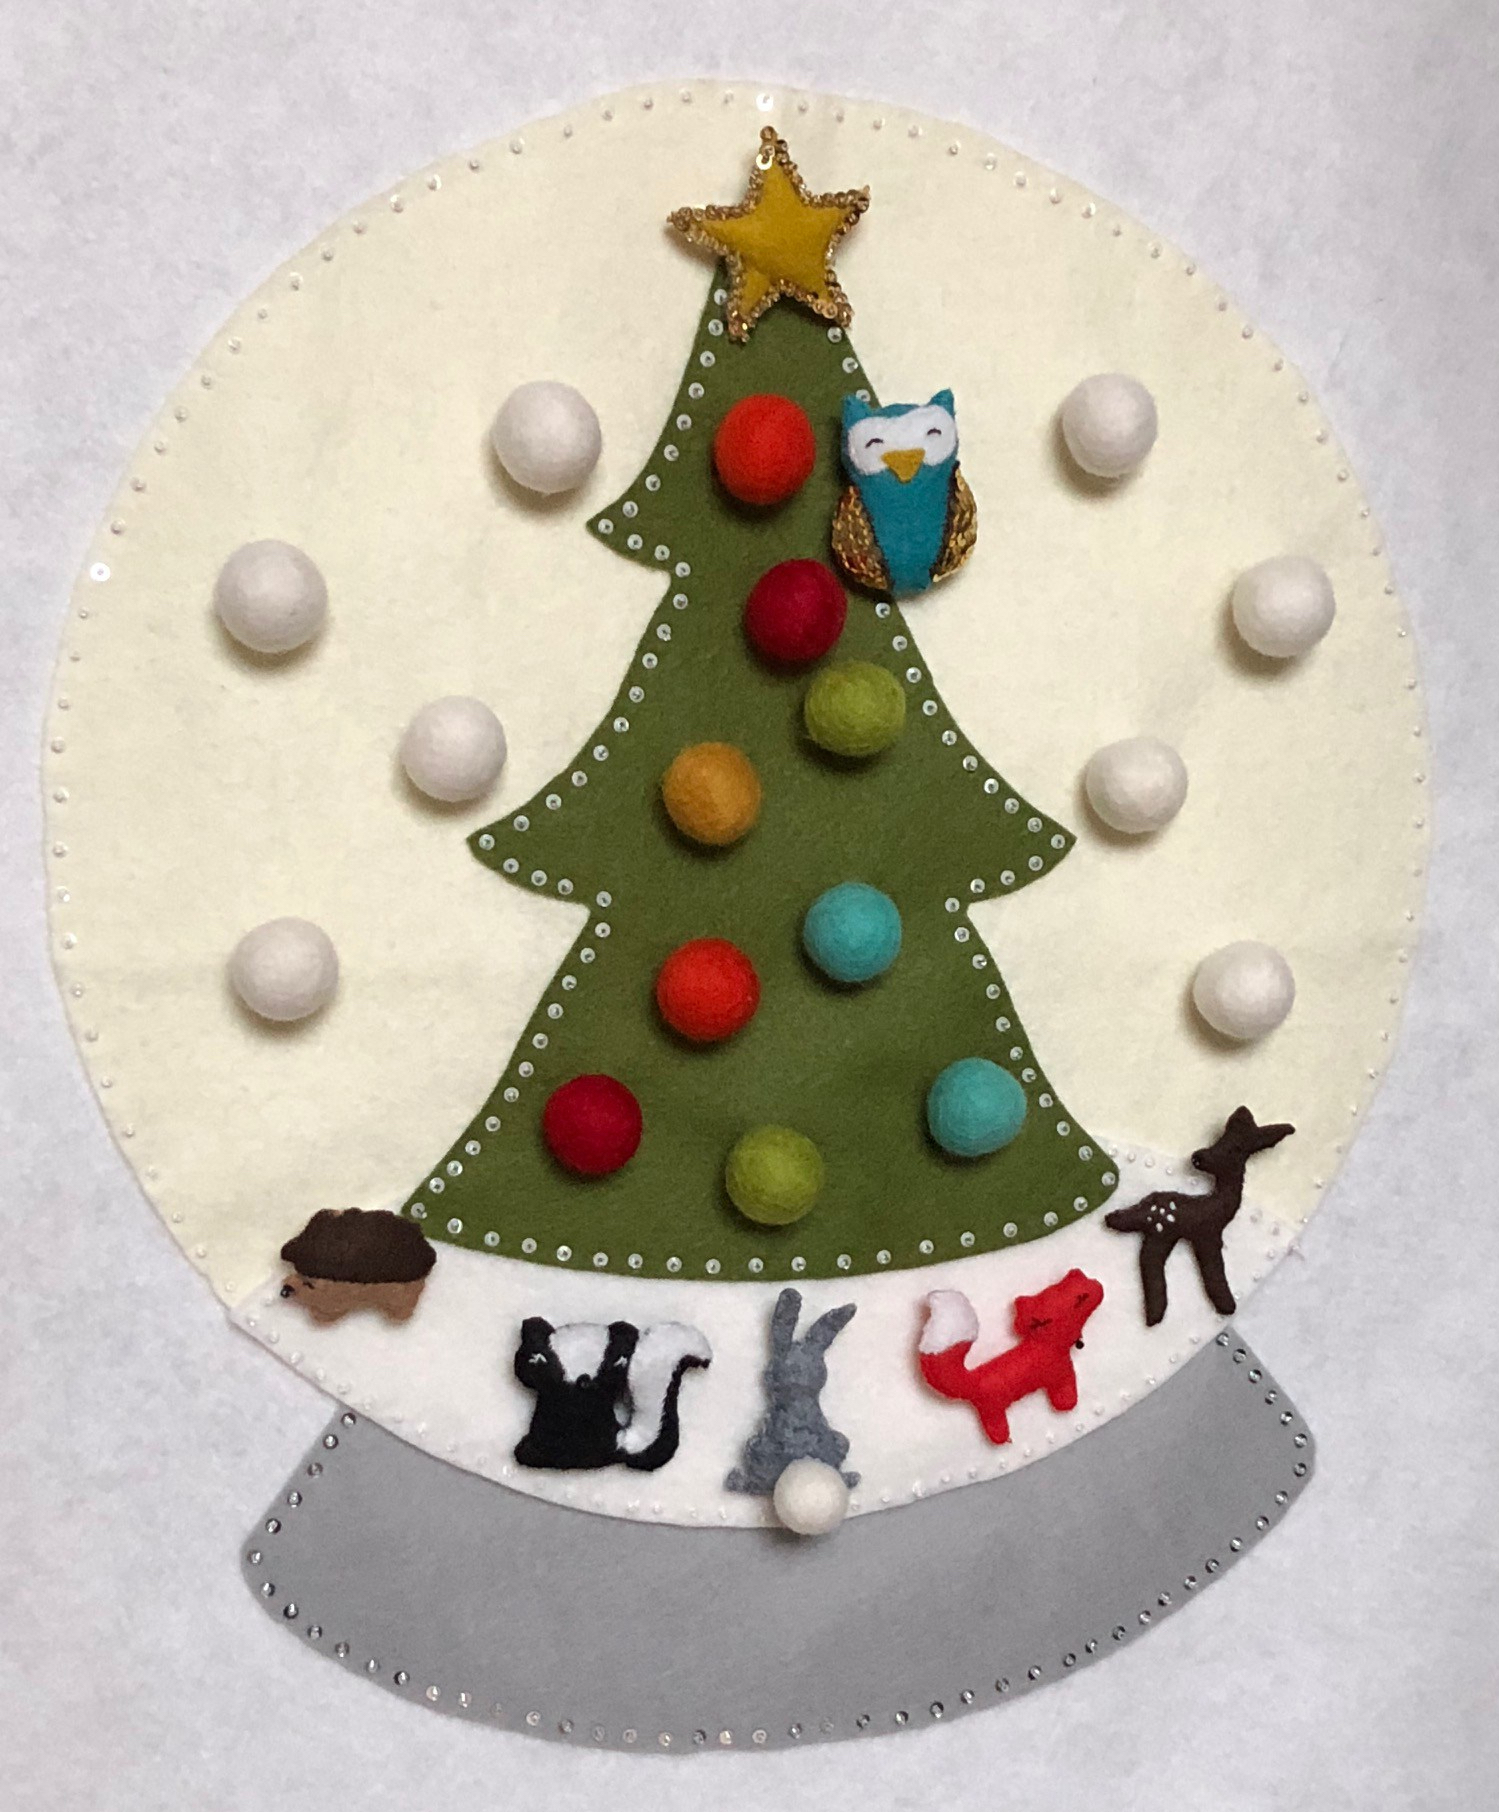
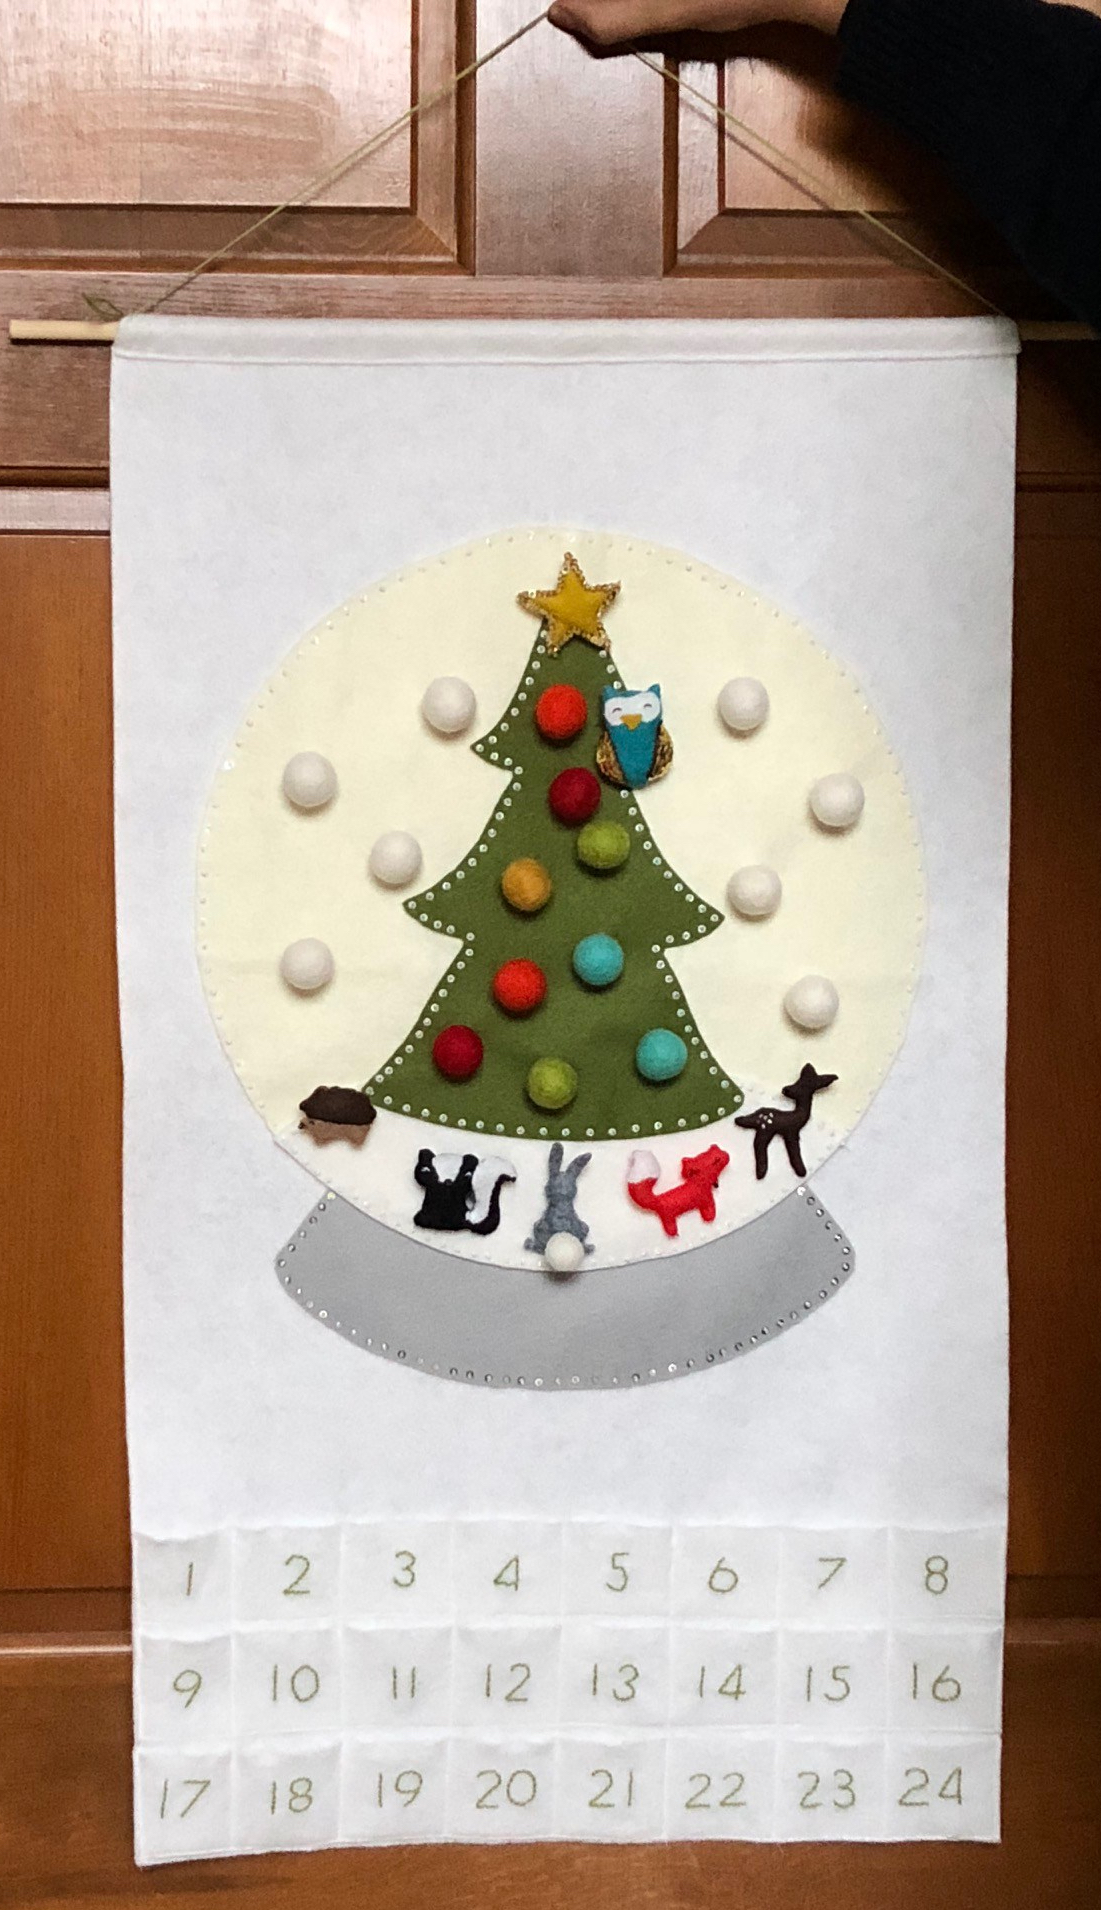
Hello and happy holidays to you all! I meant to get back here before Christmas to give you an update on the advent calendar, but I was so consumed with that, and then with a wee sweater for my friend’s little boy, and the Christmas preparations that it just didn’t happen. But what I will tell you is that I completed the advent calendar very late on December 18. I’m very pleased with it.

First of all, a few close-ups.

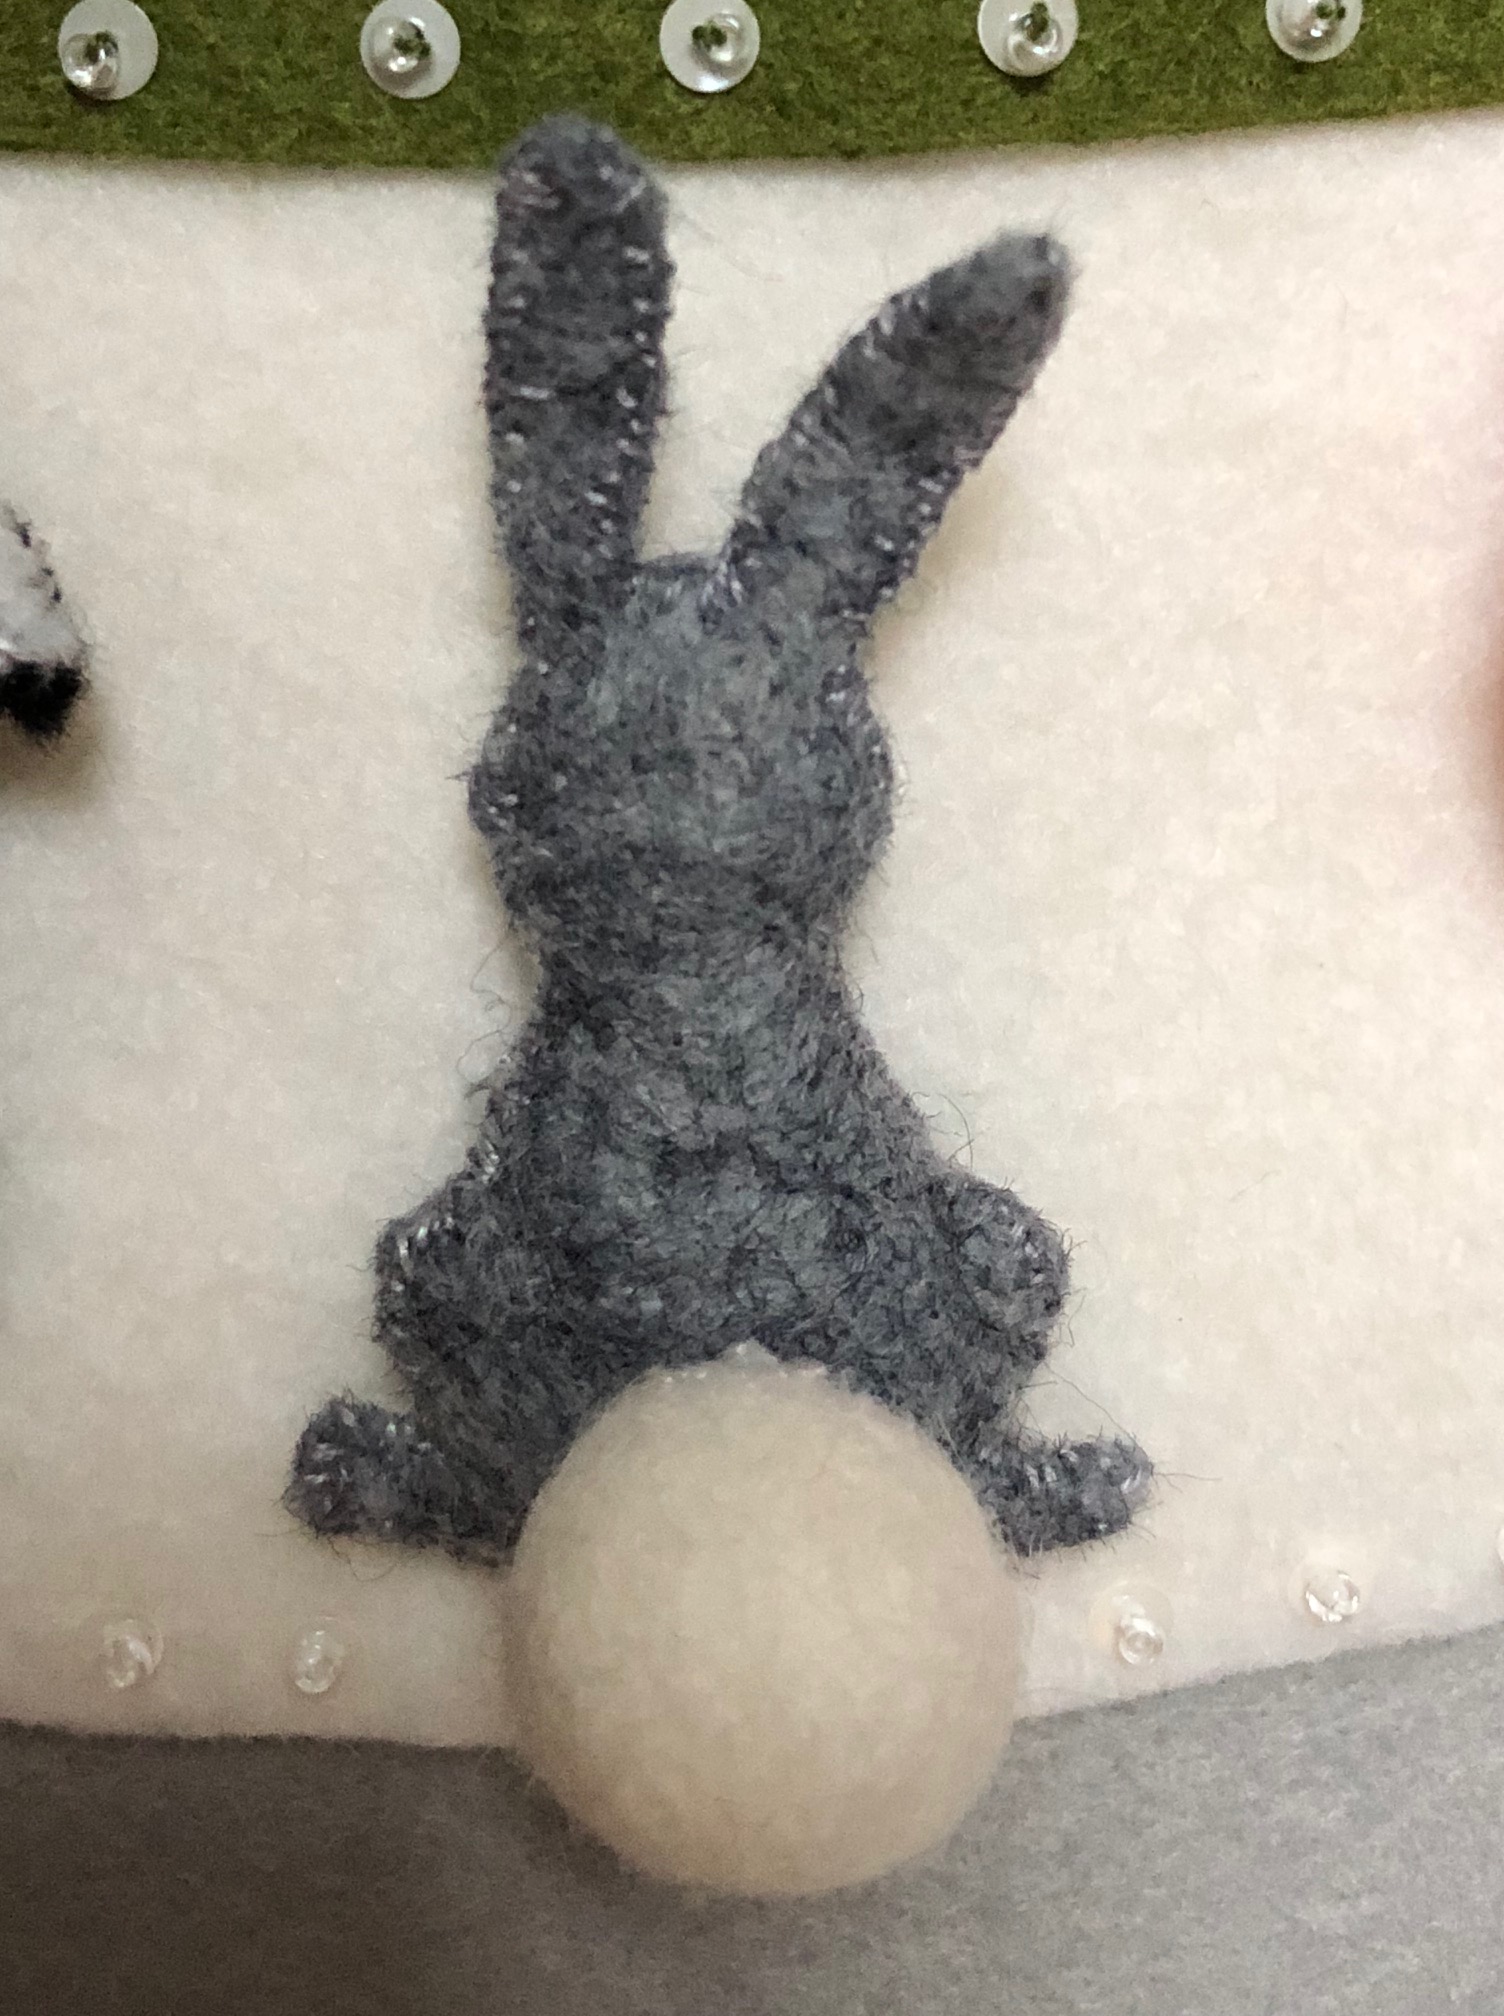
The bunny is the first animal I completed, because I was trying to dip my toe in gradually, and he didn’t require any embroidery for his face. He just has this adorable (magnetic!) fluffy felt ball tail.

IMG_0722

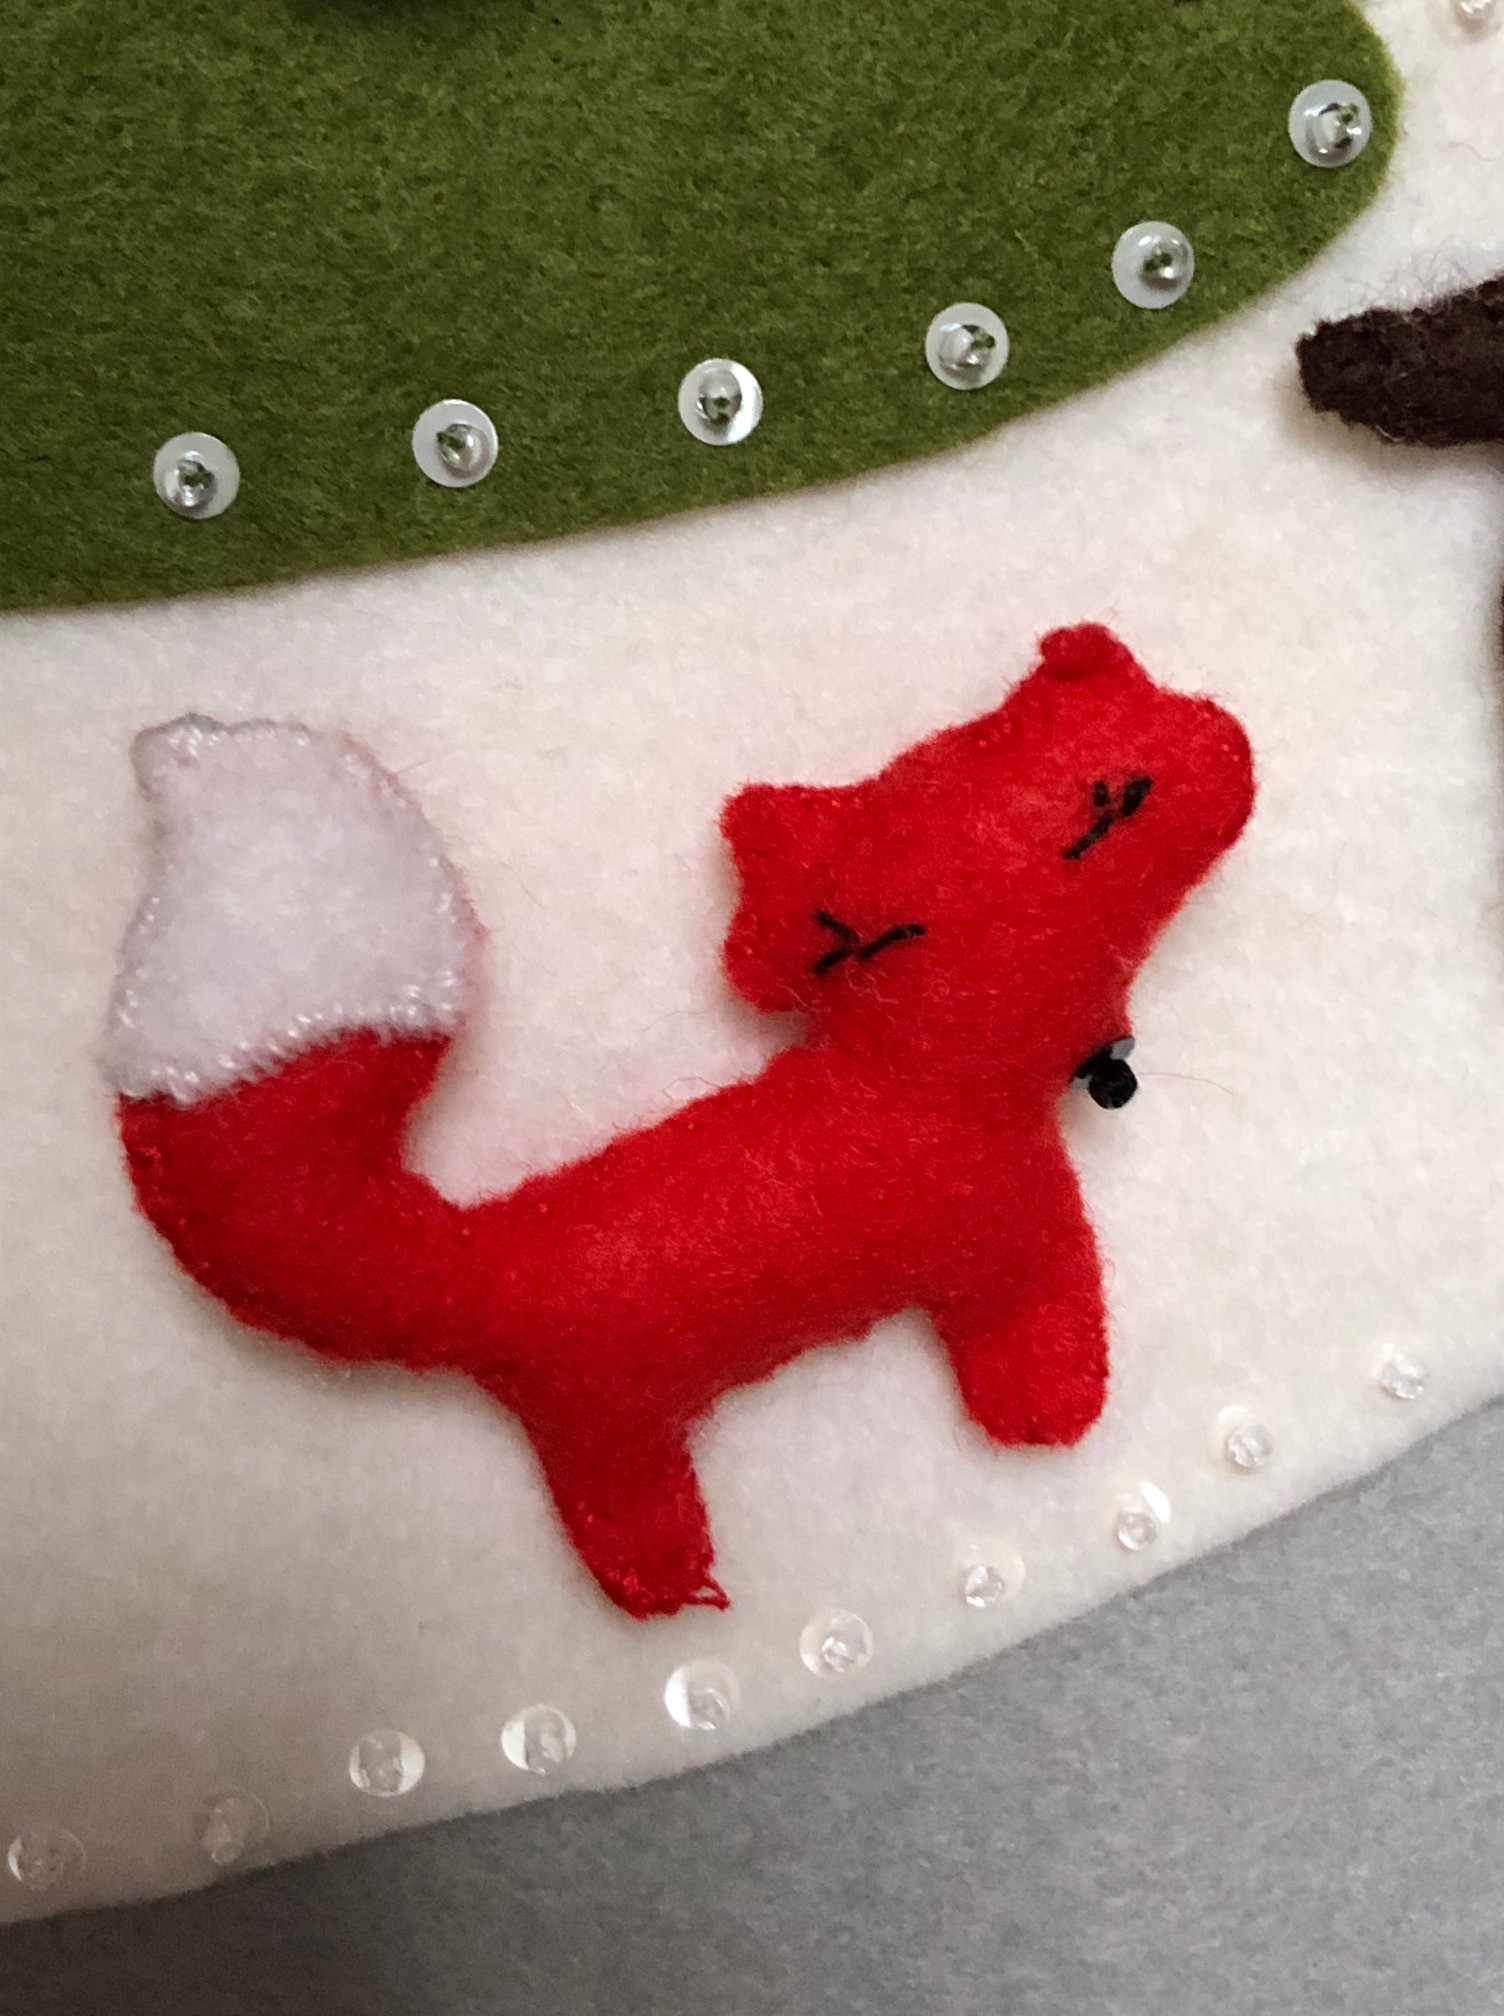
Then, I made the fox. I did have to have a couple of goes on the eyes, but I got there OK in the end.

IMG_0723

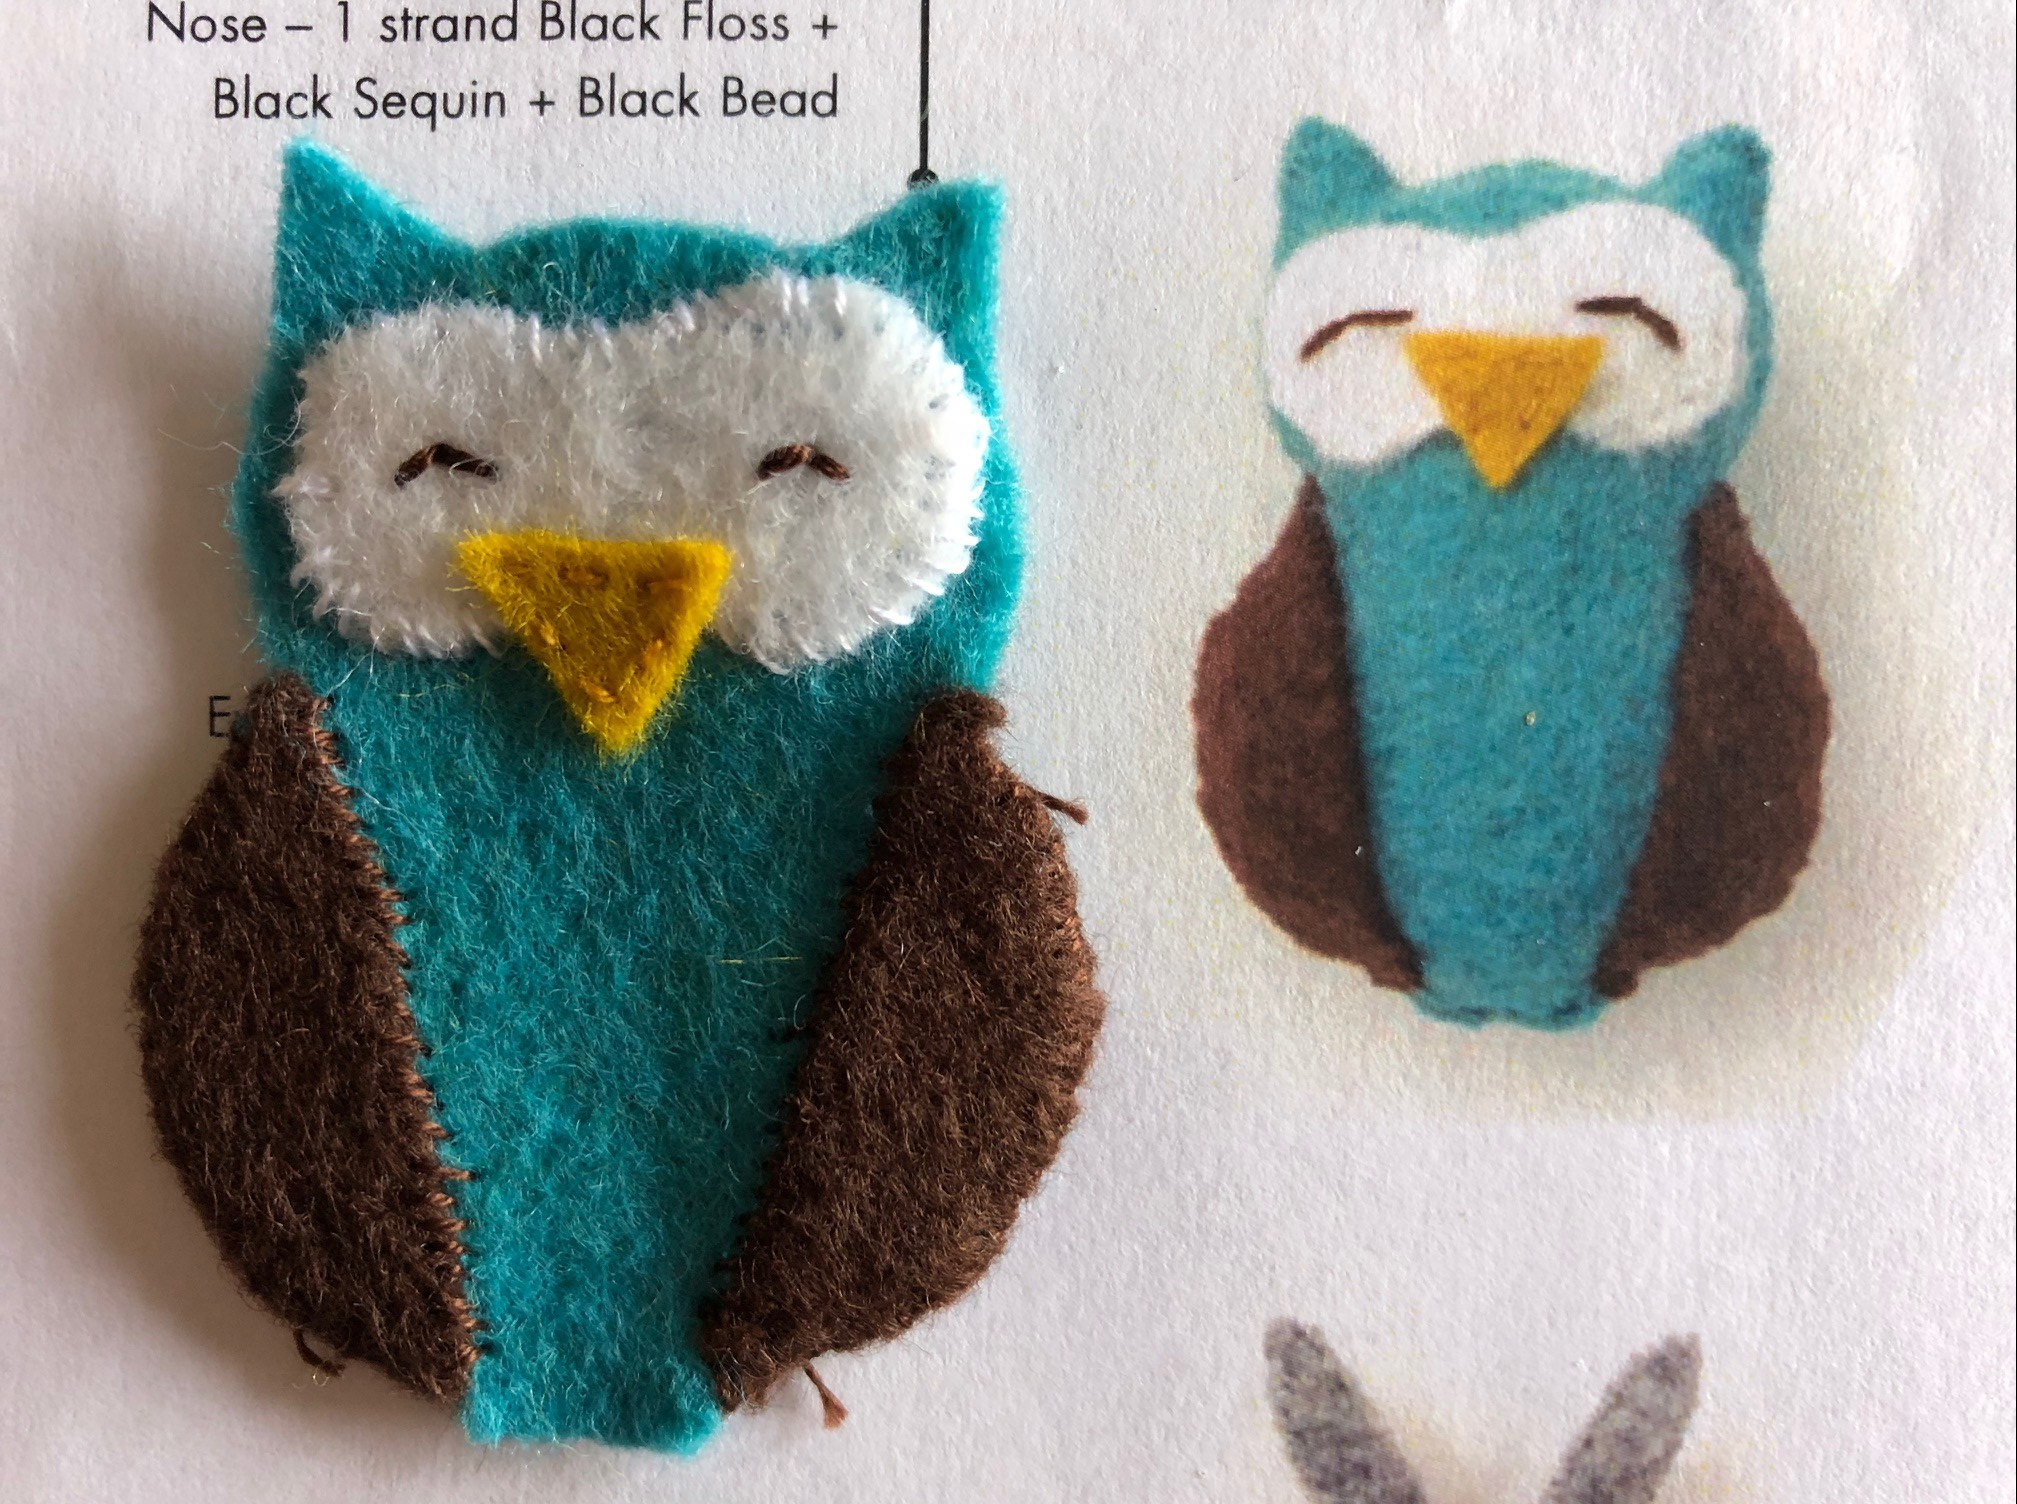
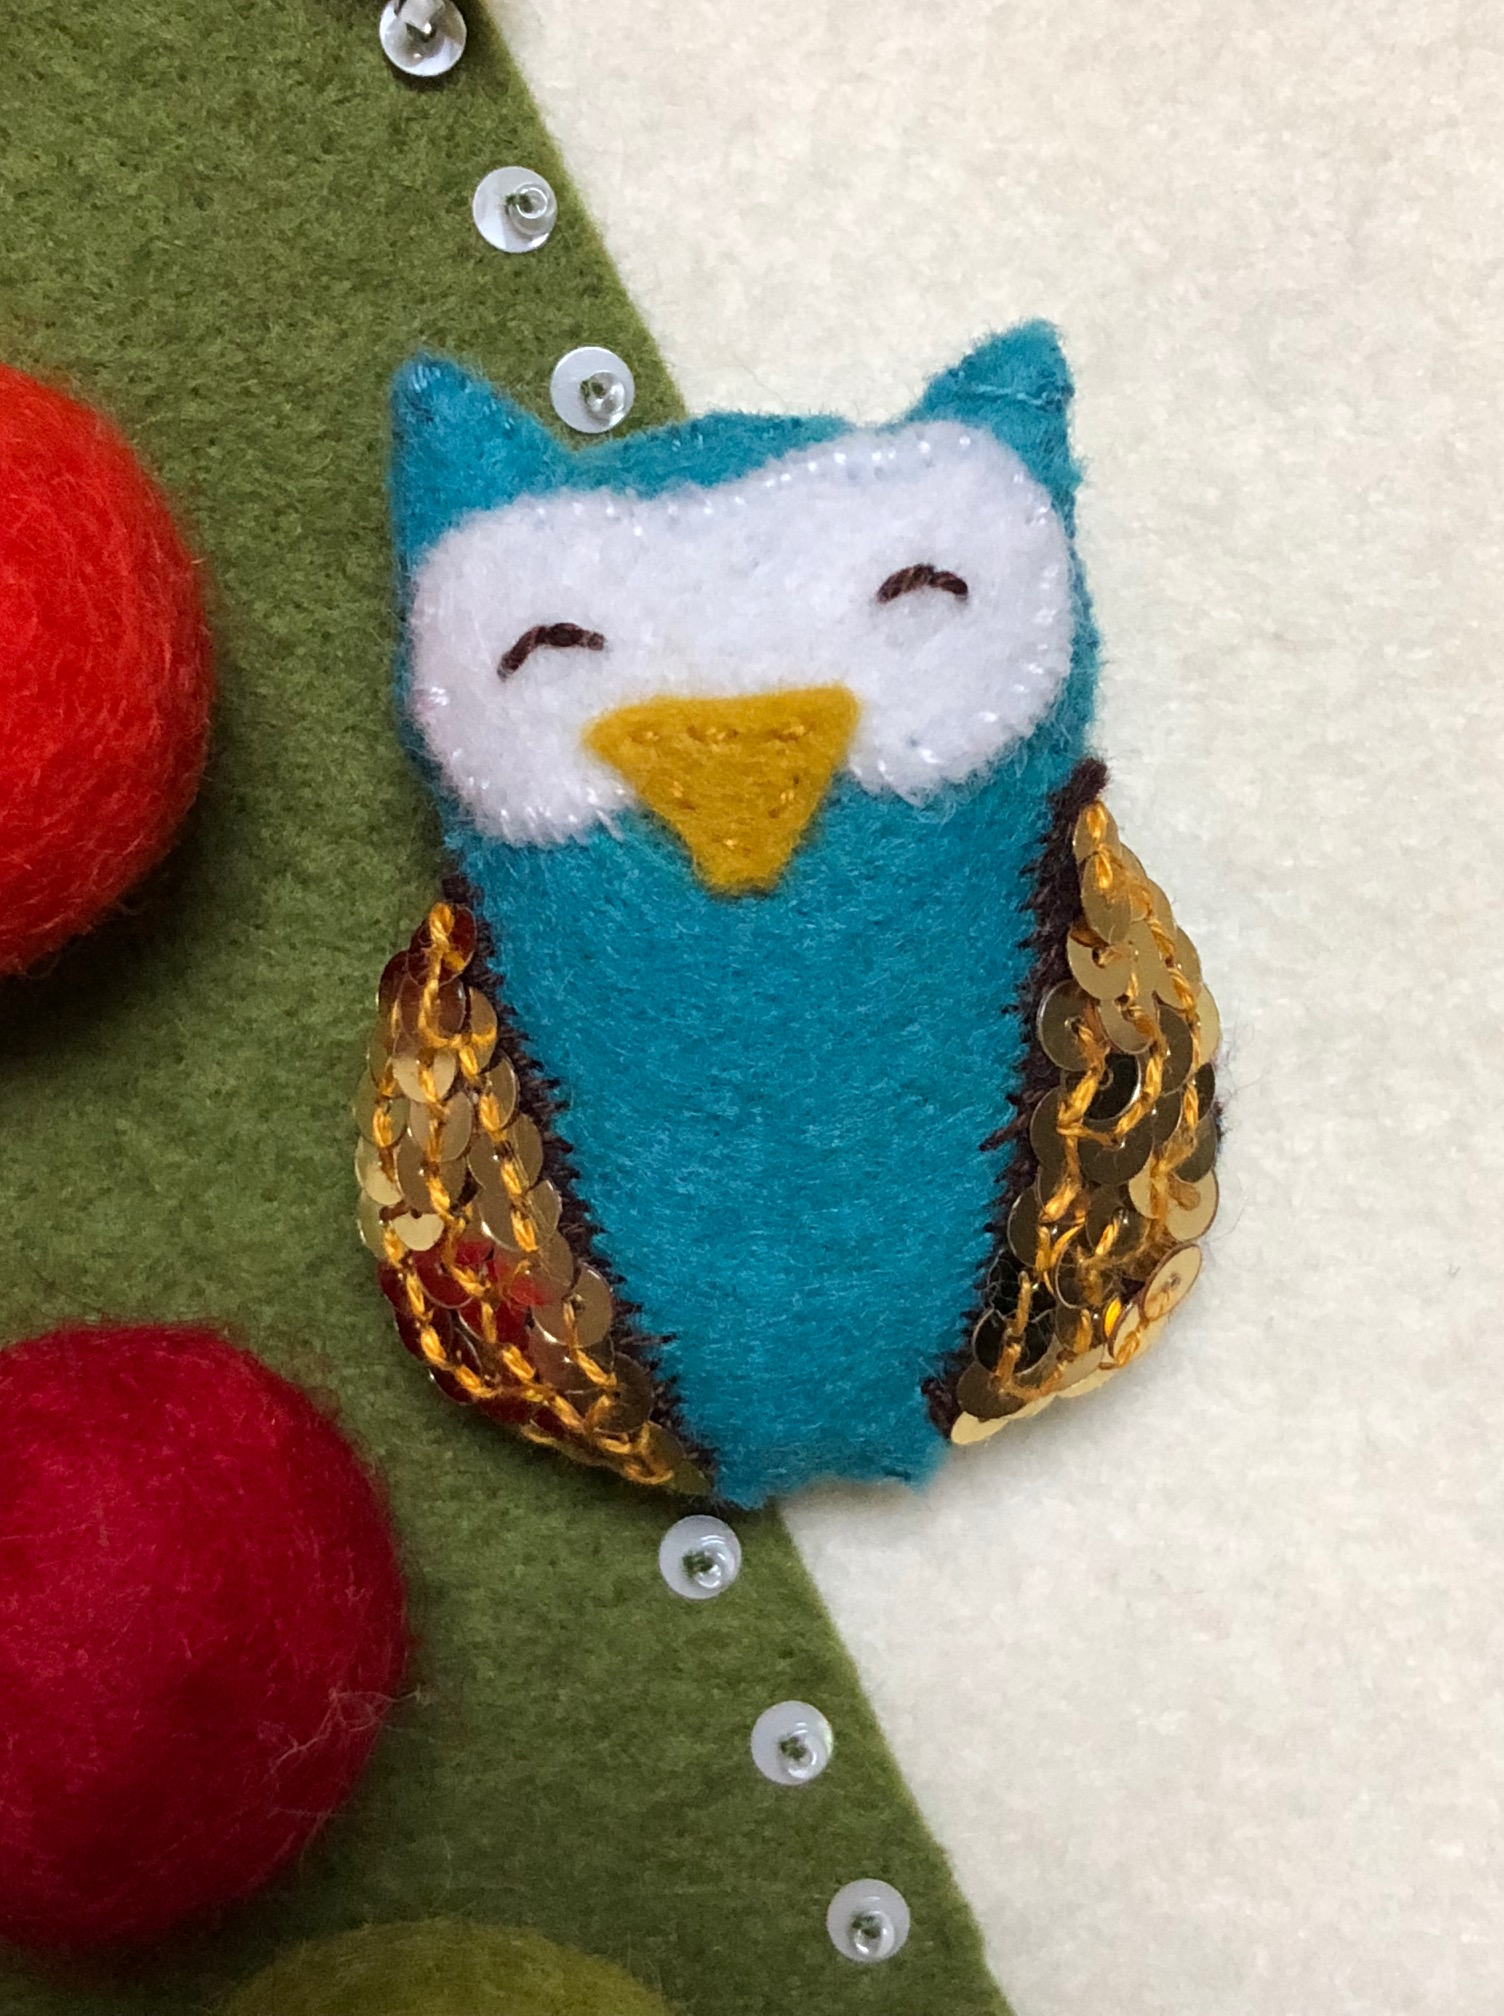
The owl is perhaps what I am most pleased with it. I finished him according to the pattern. My daughter named him “Harold MacCaw.”

img_0610.jpg

But I just kept looking at him, and felt he needed a little more sparkle. And because after I had finished handsewing the border of the snow globe with white, my daughter asked for more gold, I decided more gold was what he needed. So I decided to try to layer them a bit like feathers to make him both more bling-tastic, and to add some feathery texture.

IMG_0726

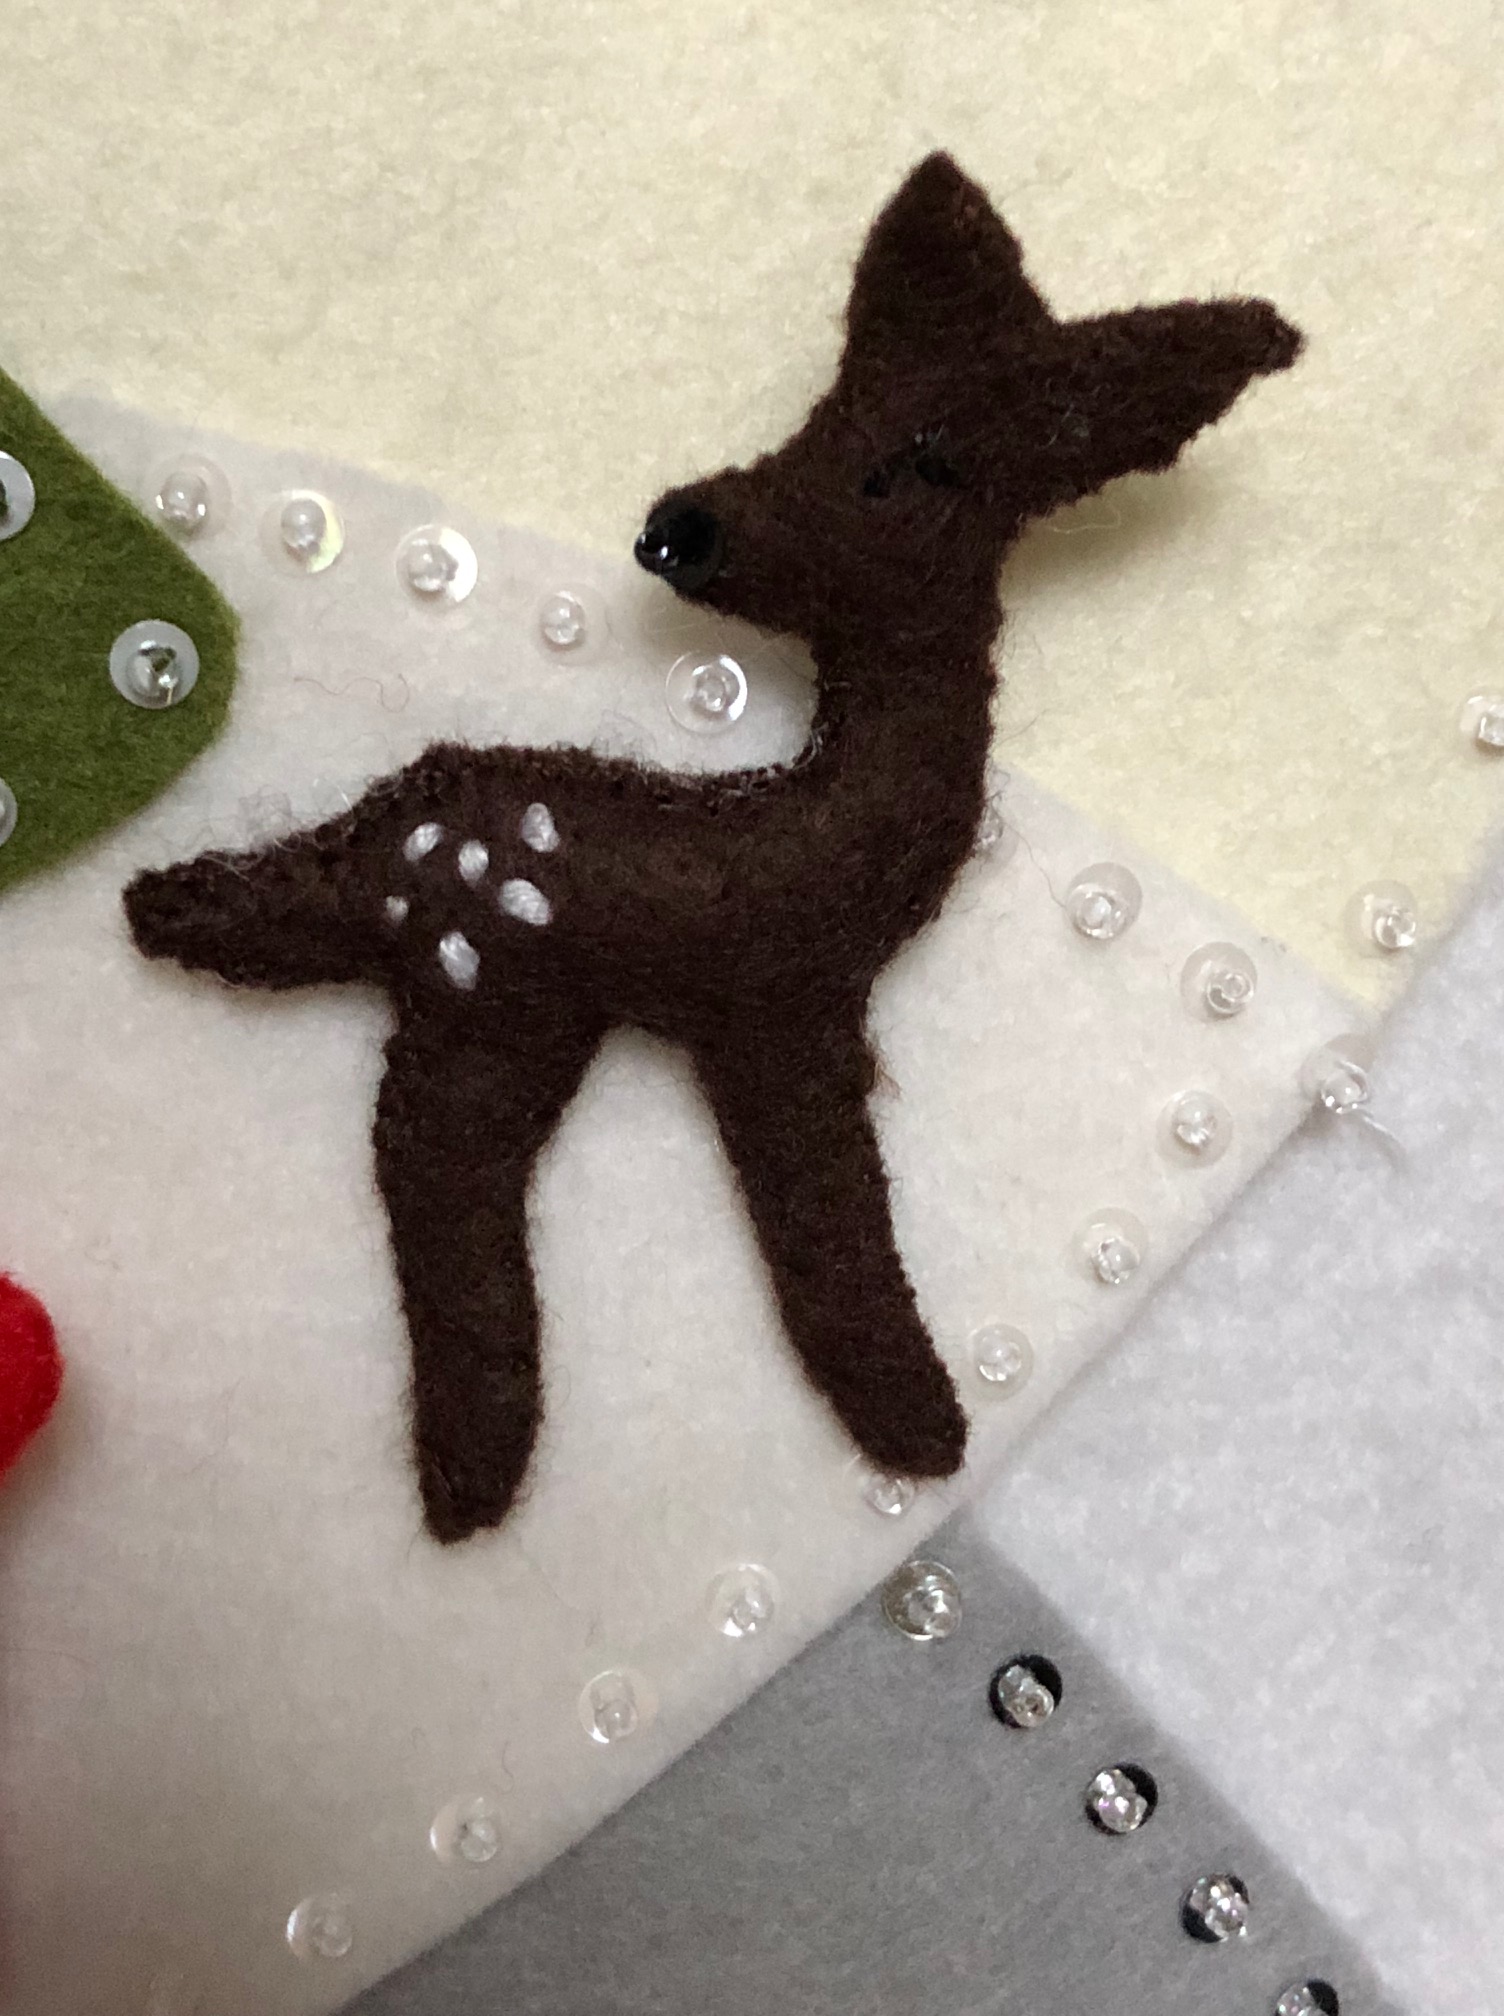
I then moved no to the deer, which gave me no troubles. I was getting into the swing of it.

IMG_0724

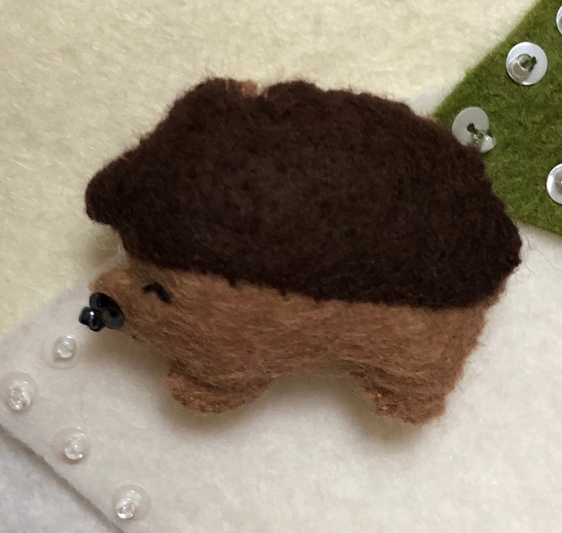
And the sweet little hedgehog.

IMG_0720

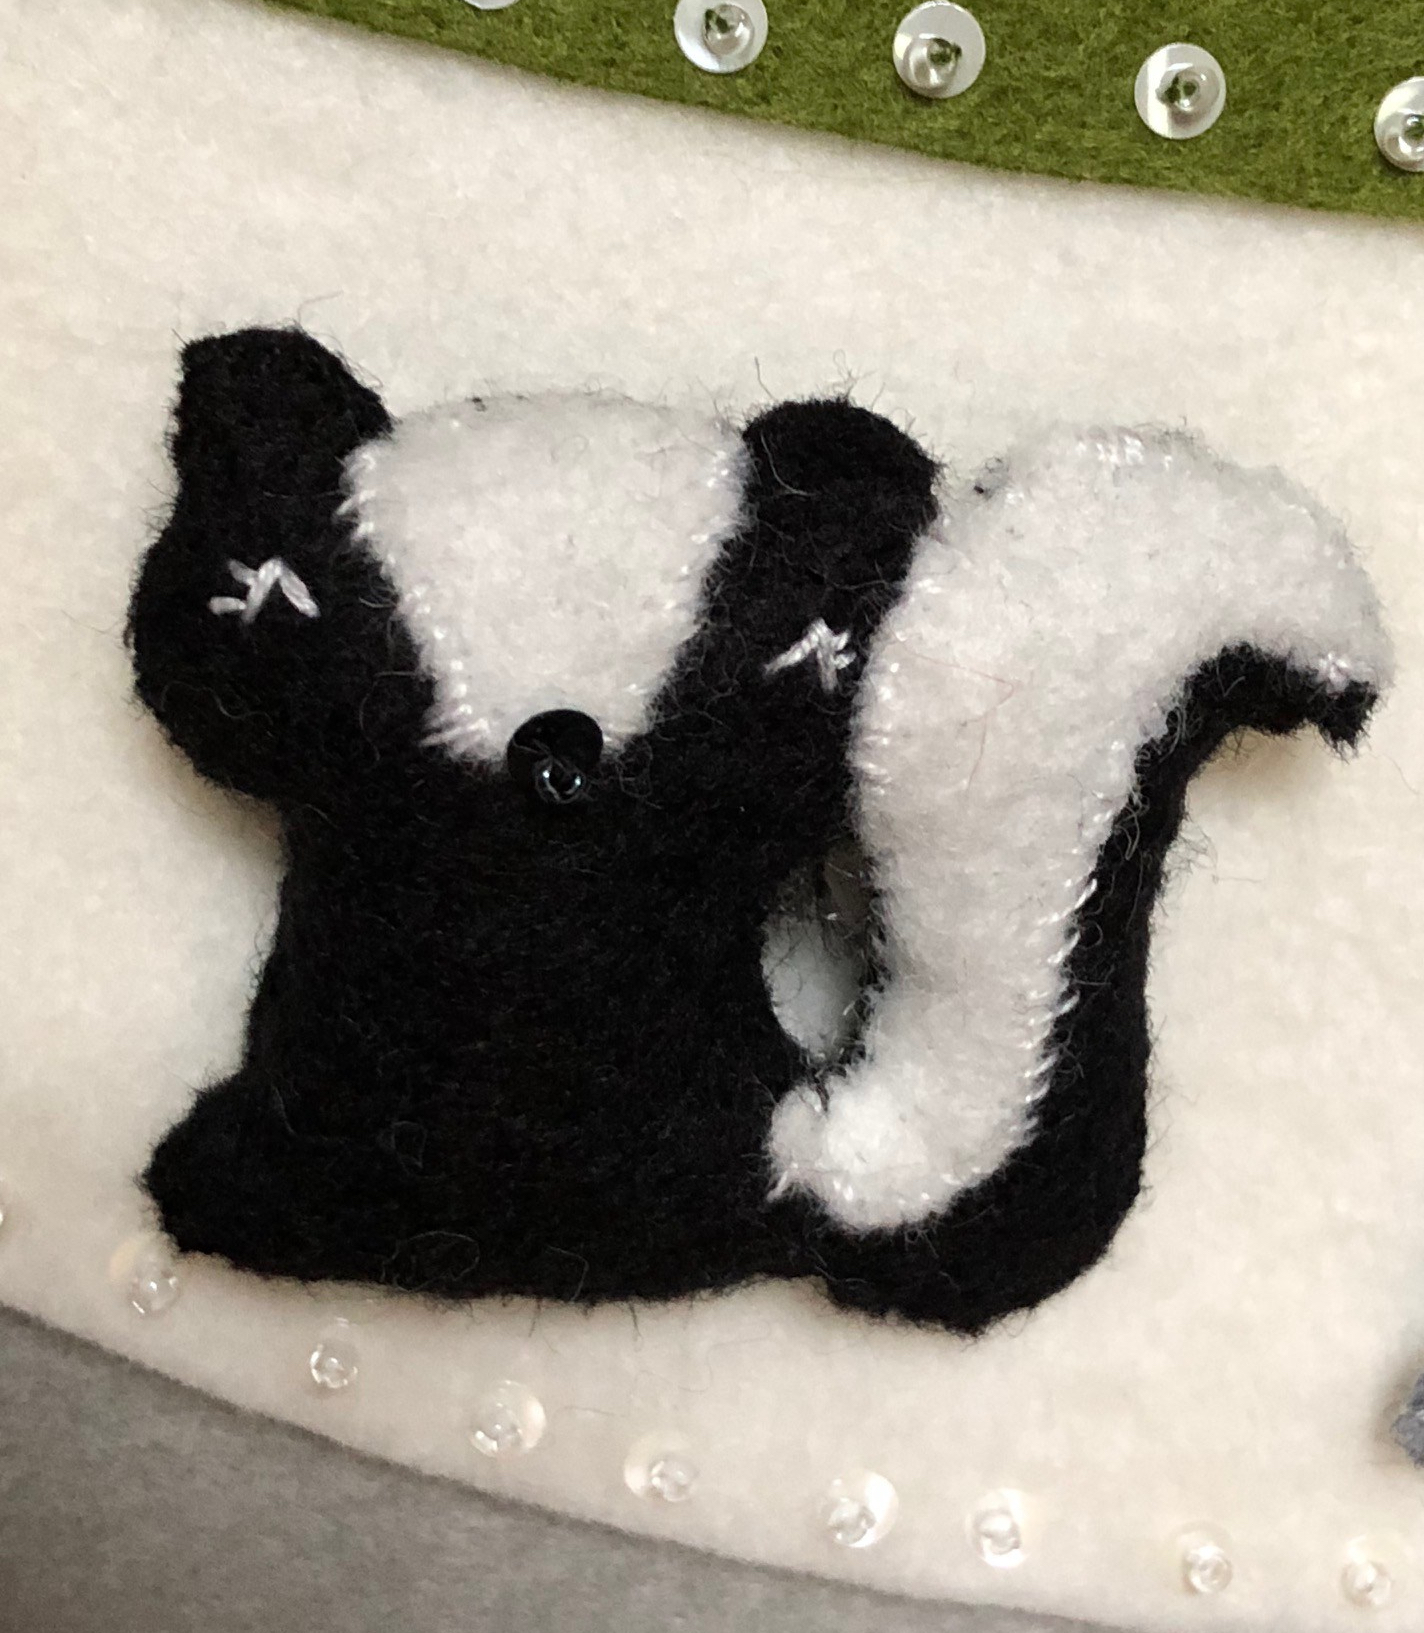
And then the skunk last, because he was BK’s least favorite. Though I love his little face.

IMG_0721

But the piece-de-resistance is the star – outlined in gold sequins. I *love* this one.

IMG_0725

So here it is, all together — the grand ta-da!!!

IMG_0727

IMG_0729

This was a fantastic project and I loved making it! There were a few minutes of stress, mostly due to my compressed timeline, but overall it was really great. So great that I’ve already purchased the materials to make the birthday countdown (though thankfully I have a few months to finish that one!).

I only had the one little hiccup with the instructions, but Jennifer was fantastic, and made it right for me immediately. The instructions were very clear, and good enough for a sewing novice for me. I also found the sewing of tiny things to be more enjoyable than the knitting of tiny things.

I hope all of you have had time to spend time with your family and friends, and that you’ve found a little craft time for yourself in amongst the festivities. The new year is rapidly approaching and I hope to see you here to talk crafting some more in 2018!

advent calendar, current projects, sewing

I just couldn’t resist

Well, my friends, the siren song of the snow globe advent calendar was just tooooooo strong. And 2 weeks before December 1, I found myself teaching myself how to hand embroider numbers and how to add seed beads and sequins to my hand sewing. I definitely had to do some practice runs, because the extent of my hand stitching repertoire is sewing on buttons… but I think it turned out all right.

I spent one whole week of evenings embroidering all of the numbers. I really struggled with this step. I had never used an iron-on transfer pen, so I practiced. It turned out OK. I did it for real, doing all of the numbers at once as the instructions said, and I thought it worked really well. For about 15 minutes. But I felt that even though I bought a “permanent” pen, the outlines started fading almost immediately! I would be upset with how it looked and have to walk away and give myself some space to see if I was going to tear it out or be OK with it. I cringed to even take a picture of the numbers for you, because every area I considered taking a close-up photo of had something in it that bothered me. I’ve instead decided to approach this from the “galloping horse” theory – if it looks good from a galloping horse, it’s fine! And I think, even though I don’t have a horse, that from a distance the overall impression of the embroidery is acceptable.

Over the next weekend, I cut out all of the pieces. Then I spent a few nights after BK’s bedtime doing the handsewing and beading. The beading took FOREVER the first day, as I was trying to get the hang of it. I really struggled holding onto those little seed beads, and I’m pretty sure I’m going to be finding them in the folds of my couch forever! After the first night, however, I really got into the swing of it.

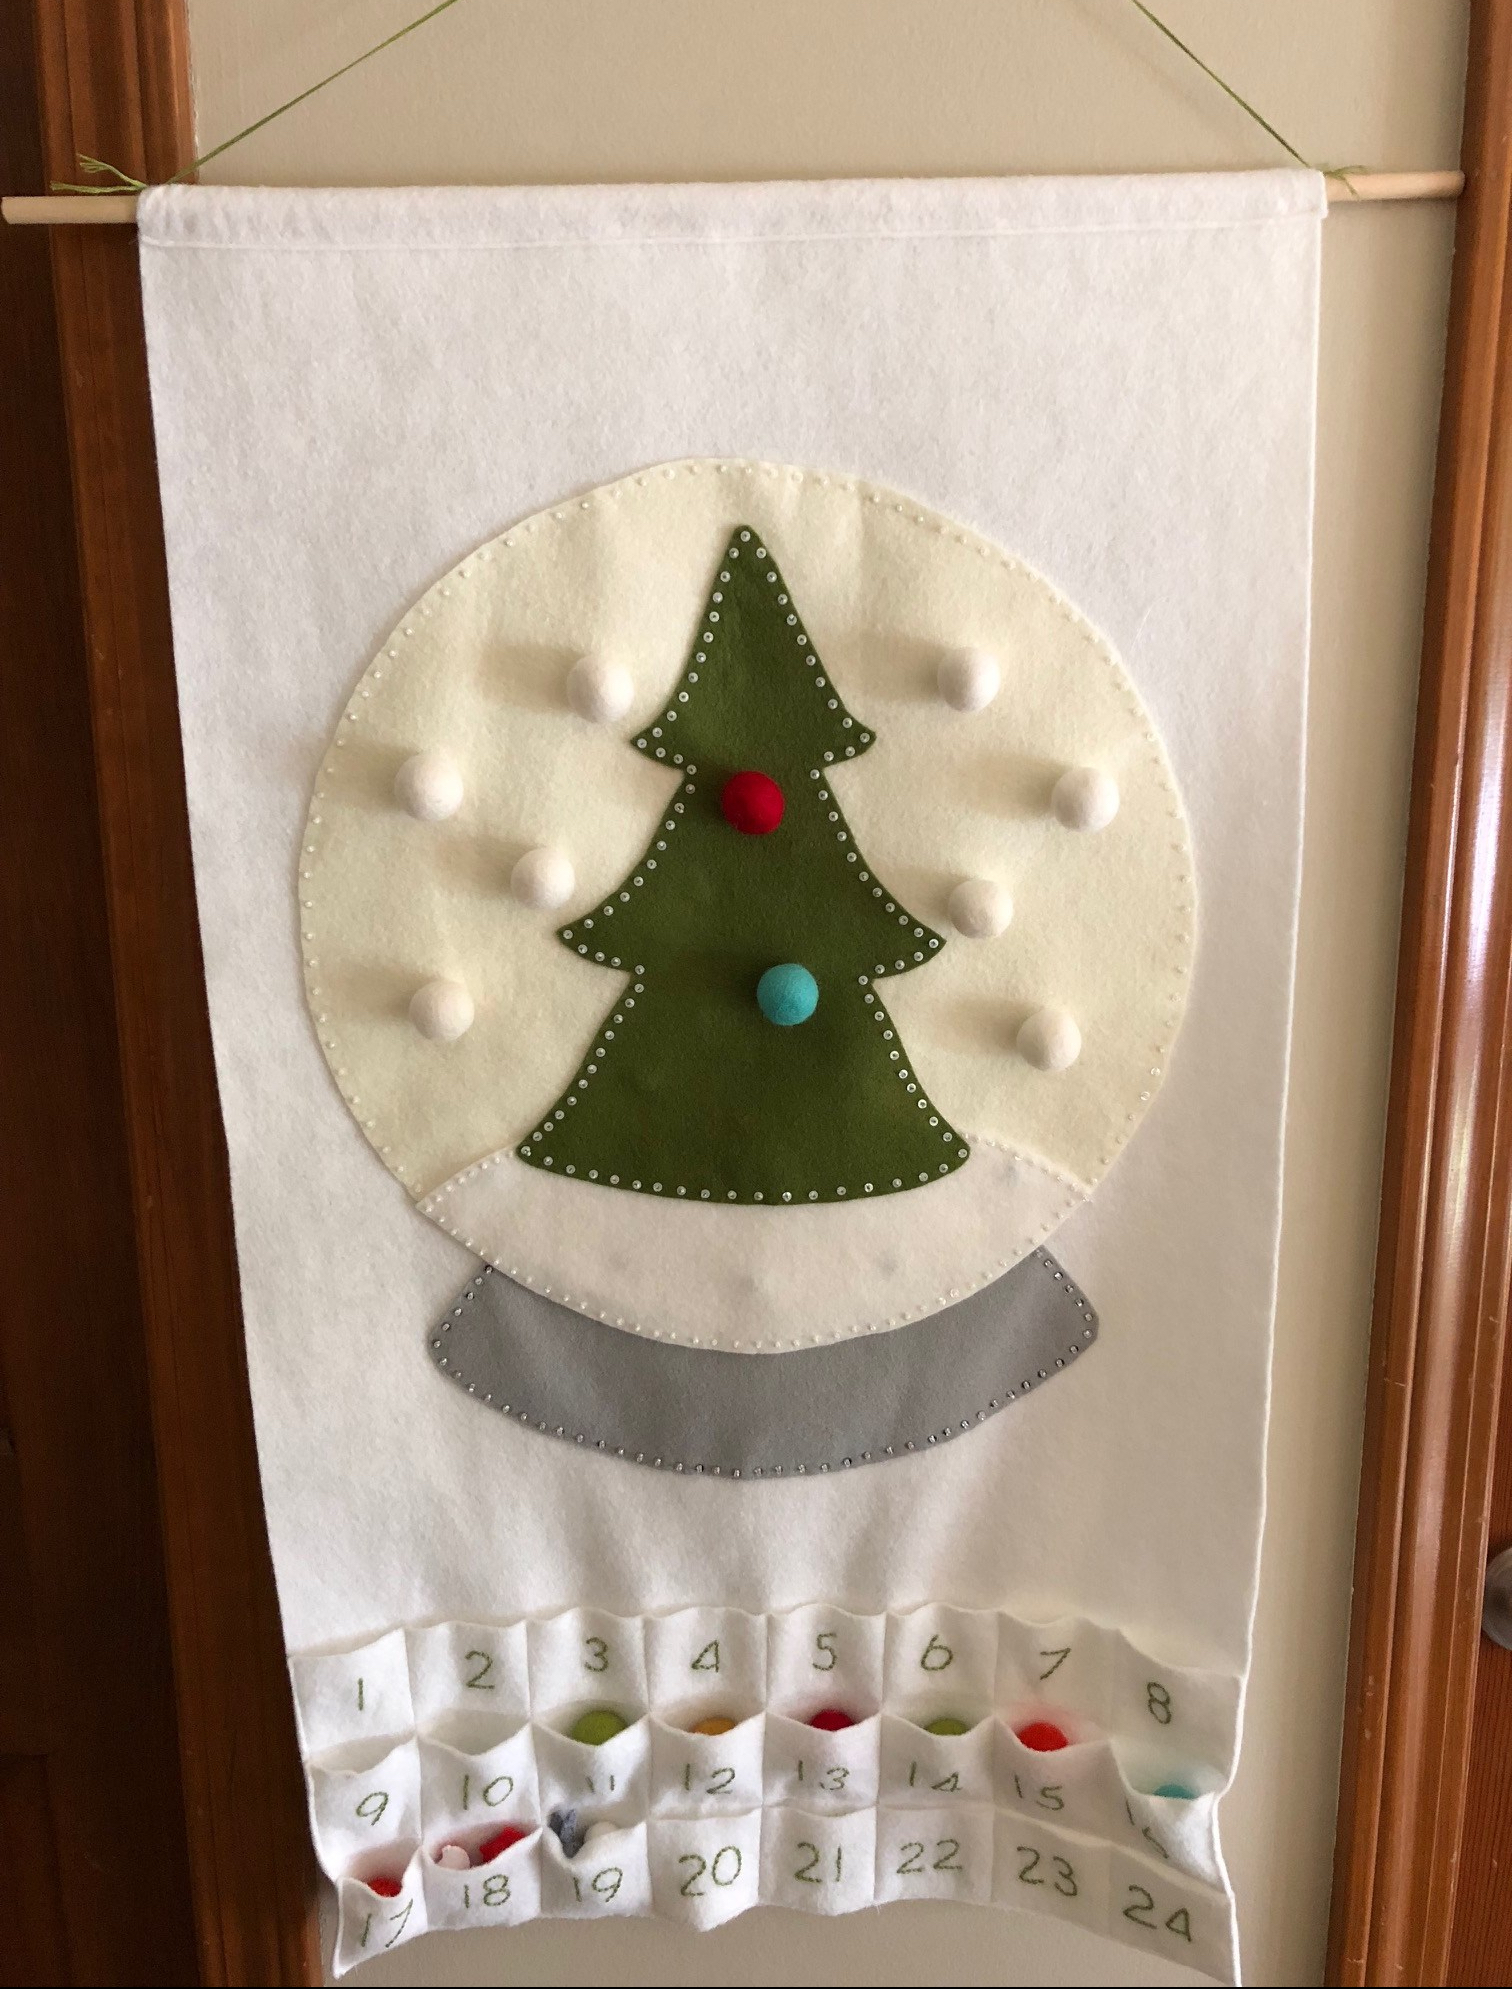
I finished it just in time! It wasn’t yet on the dowel rod or hung, but the sewing was done on December 1, and I had two snowballs completed.

I’ve now completed all of the days that require the felt balls – snow and ornaments. However, I realized as I was triumphantly testing the magnets, that I am missing a magnet behind the tree and I was one short! I had a lot of trouble falling asleep that night while thinking over how best to do this rework. After talking to my mom and Mr Snips, I decided on a small incision in the back, glueing the magnet on, and then sewing the small slit. It worked out very well.

Advent Calendar in progress

I now have 19 days worth of the pieces done, and am working along on the animals. We’ll see how long it takes to do these final pieces with so many little details! But really, it’s all about completing a personal challenge. Especially since after I started working on this frantically, BK told me she didn’t need it for this year, because she already had an advent calendar, and what she really wanted was a pink and red striped stocking. Never mind that she has this beautiful one. Sigh.